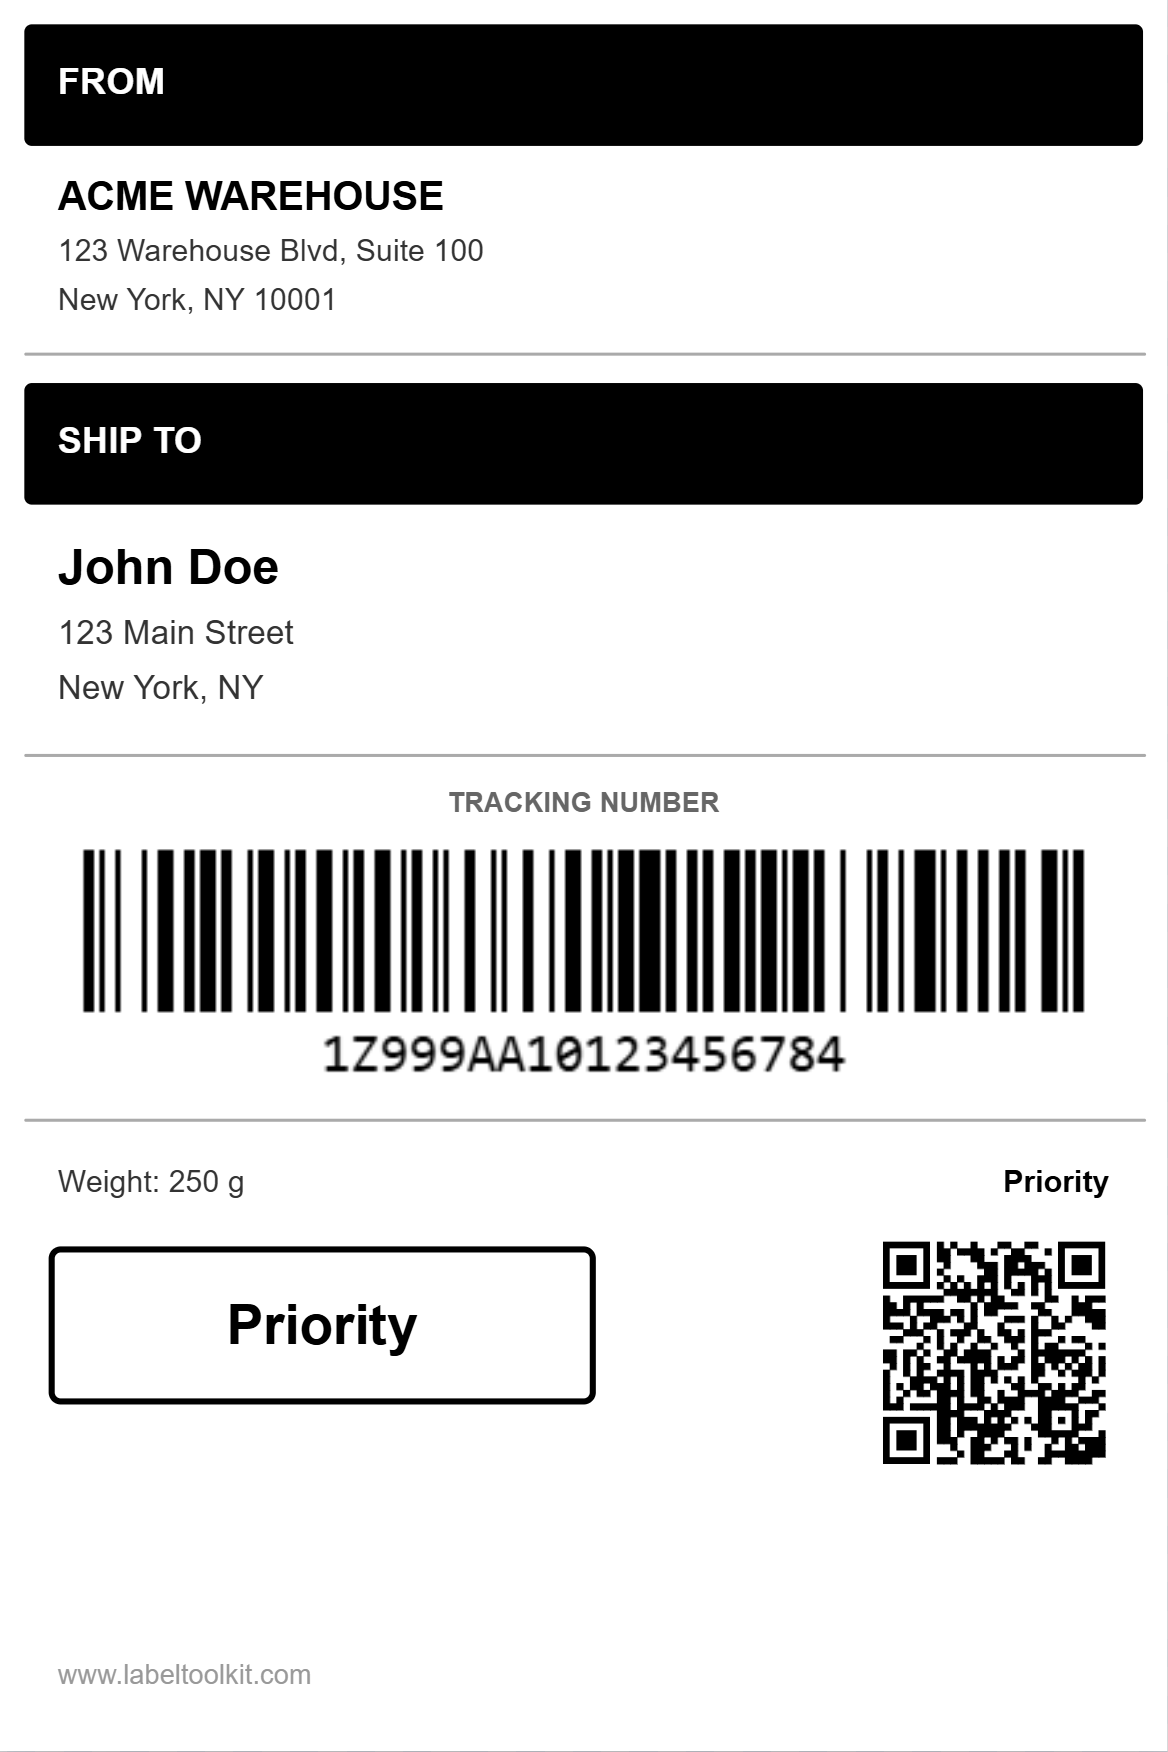
The single most important thing about a printed barcode is that it scans on the first try. That depends on clean, sharp edges, and sharp edges depend on how the label reaches the printer. Label Toolkit now exports labels as true vector PDFs: the barcode, QR code, text and shapes are drawn as real geometry, not captured as a screenshot of the screen. The result stays crisp at 203 dpi, 300 dpi, 600 dpi, or blown up on a laser printer, because there are no pixels to blur.
Barcodes and QR codes are drawn as vector paths, so bars keep hard edges at any size.
Text stays selectable and sharp instead of being flattened into an image.
Print marks (crop marks, bleed and an optional safe-area guide) are available for print shops.
A printer calibration sheet confirms your printer is not silently scaling the output.
A 4 by 6 shipping label with a CODE128 tracking barcode and a QR code, exported as a single vector PDF.
Why a raster label fails to scan
When a label is exported as a raster image (a PNG or a screenshot), every bar becomes a block of pixels. Print it at a different size than it was captured, and the printer has to guess at the in-between pixels, softening the edges. A scanner reads a barcode by measuring the width of each bar and space against the whole; blur those boundaries and the reader either slows down or rejects the code. On a thermal printer at 203 dpi, a barcode that was captured at 96 dpi on screen is being stretched more than twice, which is exactly where narrow bars merge together.
Vector output sidesteps the whole problem. The PDF describes the bar as "a filled rectangle of this exact width," and the printer renders it at the printer's own resolution. No stretching, no guessing.
What is in the export
One page per row, or a full sheet. Print a single label, one page per data-merge row, or an N-up sheet layout, all from the same PDF.
Crop marks and bleed. If a print shop trims your labels, crop marks show where to cut and bleed extends the background past the trim so a slight misalignment never leaves a white edge.
Safe area. An optional guide that keeps important content away from the trimmed edge.
Calibration sheet. A ruled test page so you can confirm 100 mm on the label prints as 100 mm on paper. If it does not, your printer or its driver is scaling, and the sheet tells you by how much.
Units that match your printer
Because the export is real geometry, sizes are real too. Set the editor to millimetres, inches or pixels and the whole canvas, including the rulers, follows. A 4 by 6 inch shipping label is exactly 4 by 6 inches in the PDF, so it lands correctly on a Zebra, a Brother, or an office laser printer without a "fit to page" surprise.
When you still want ZPL
Vector PDF is the right default for most printers and for sharing a label with someone who just needs to print it. For Zebra thermal printers driven directly, Label Toolkit still generates ZPL II, and can even import existing ZPL back into an editable design. Different jobs, same label.
Try it
Design a label in the Label Toolkit editor, add a barcode or QR code, and export a PDF. Zoom in as far as you like: the edges stay clean. It is free and needs no signup.