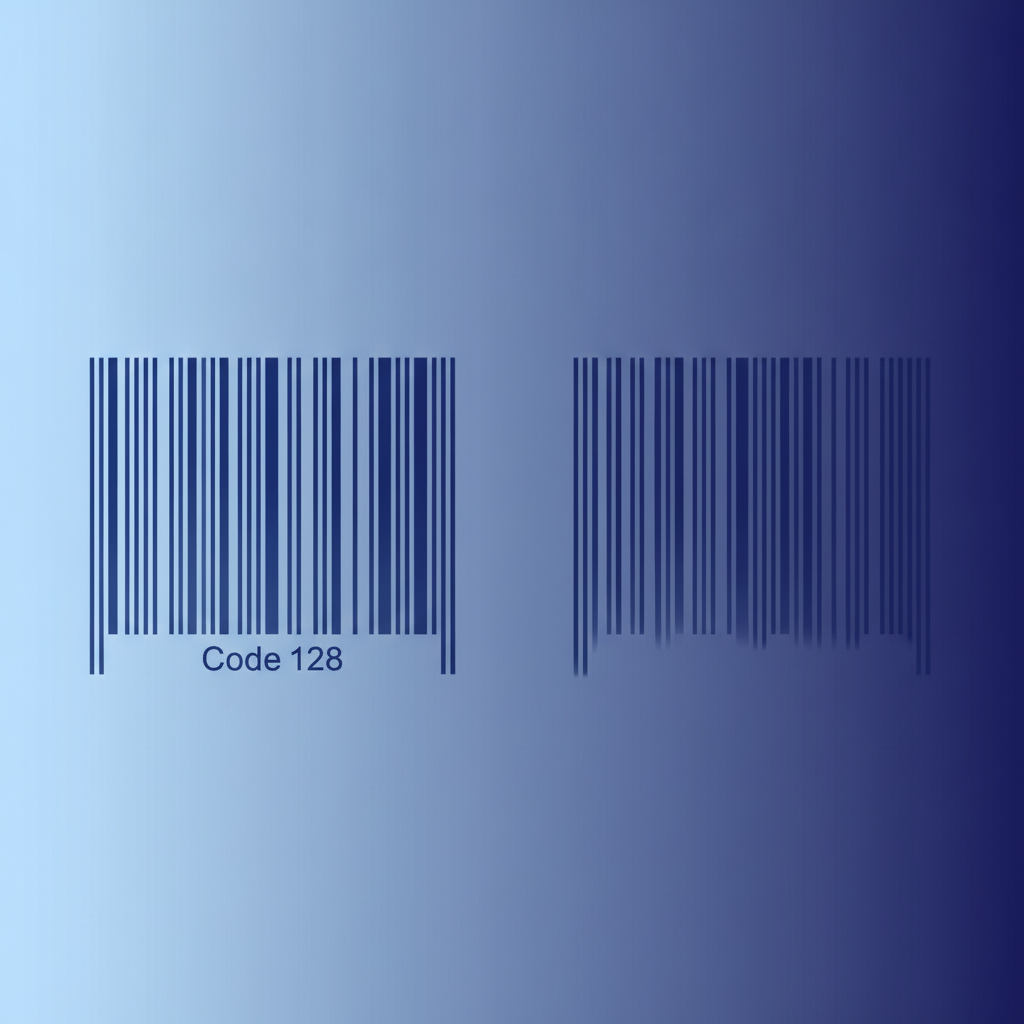
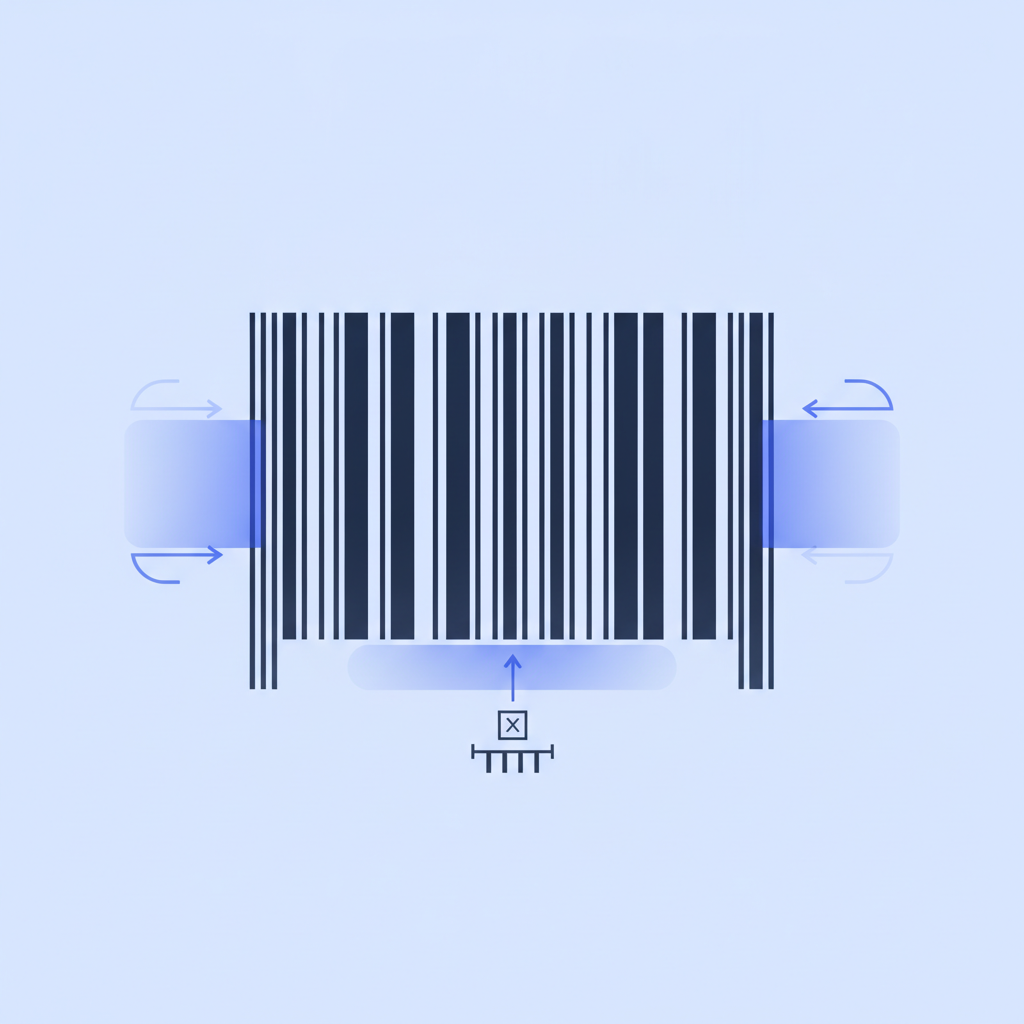
A barcode that will not scan is almost always caused by one of four things: a missing or undersized quiet zone margin, incorrect print density settings, a mismatch between your label media and print method, or data encoded in a way the symbology cannot represent cleanly. Label Toolkit lets you design and proof every one of these factors in the browser before a single label hits your printer, which catches the majority of scan failures before they reach the warehouse floor.
Quiet zones matter more than most people think: a 1D barcode needs at least 10x the narrowest bar width of clear space on each side; shrinking that margin by even 1 mm can drop scan rates to near zero.
Print density must match your printer's DPI: a barcode designed at 300 DPI printed on a 203 DPI printer produces bars that bleed together and fail to decode.
Media and method must align: direct-thermal labels in a thermal-transfer printer (or vice versa) produce faded or smeared output that scanners reject.
Bad data is silent but deadly: a Code 128 barcode containing a character the encoder silently dropped will pass a visual inspection and still fail every scan.
The four root causes of barcode scan failure
Before you swap media or call your printer vendor, it helps to know which layer of the problem you are actually dealing with. Scan failures cluster into design faults, hardware faults, media faults, and data faults. A methodical approach saves hours.
1. Design faults: quiet zones and barcode sizing
The quiet zone is the blank space, free of any printing, that borders a barcode on its left and right (and all four sides for 2D codes). Scanners use this silence to locate where the barcode starts and stops. Without enough of it, the scanner cannot lock on.
The quiet zone requirements differ by symbology. For Code 128, GS1-128, and Code 39 the minimum quiet zone on each end is 10 times the narrowest bar width (the X-dimension). In practice, for a label printed at 203 DPI with an X-dimension of 2 dots (roughly 0.25 mm), the quiet zone must be at least 2.5 mm on each side. At 300 DPI with an X-dimension of 3 dots the math changes, but the 10x rule stays constant. UPC-A and EAN-13 specify a minimum of 9x the X-dimension on the left and right, which the GS1 General Specifications define as a minimum of approximately 2.31 mm for a nominal-size symbol. For QR codes and Data Matrix, GS1 recommends a minimum of 4 modules of quiet zone on all sides.
The most common mistake is placing a barcode too close to a label edge or overlapping it with a logo. Even a faint background color bleeding into the quiet zone will confuse a scanner. Check quiet zone visually by zooming in to 400% in Label Toolkit's canvas before you export.
2. Hardware faults: print density and DPI resolution
Print density (often called darkness or burn level) controls how much heat the printhead applies to the media. Too low and bars are faint and washed out. Too high and bars bleed into spaces, making the symbol look solid and unreadable. The sweet spot is narrow.
On a Zebra printer, print darkness is set with the ^MD command (Media Darkness, range -30 to +30) or through the front panel. A starting point for most direct-thermal media is 0 to +5. If bars look faint, increase in increments of 2. If bars bleed, decrease. Never chase darkness problems by going past +15 without first confirming the media spec allows it.
Resolution matters too. A 203 DPI printer places dots at 0.125 mm intervals; a 300 DPI printer at 0.085 mm. A barcode artwork file that specifies bars at 3 dots wide assumes a specific DPI. Print that file on the wrong resolution and every bar width shifts, destroying the width ratios the symbology encodes. Our article comparing 203 DPI vs 300 DPI label printers explains exactly when the resolution gap starts costing you scan reliability.
The ZPL ^PQ and ^PR commands control print quantity and speed respectively. High print speeds (6 inches per second and above) reduce the time the printhead has to transfer heat, effectively acting like lowered darkness. If you see inconsistent scan rates on a production run, try dropping the speed from 6 ips to 4 ips before touching darkness.
3. Media faults: wrong label stock or ribbon
Thermal label printing comes in two types: direct thermal (heat activates a coating on the label face) and thermal transfer (heat melts a wax or resin ribbon onto the label). Using direct-thermal media in a thermal-transfer printer without a ribbon produces a faint gray smear, not a crisp bar. Using thermal-transfer media in a direct-thermal printer with no ribbon produces nothing at all. Both scenarios fail a scan.
A quick field test: scratch the label surface with your fingernail. Direct-thermal media leaves a dark mark; thermal-transfer media does not. If you are unsure which type you have, the direct thermal vs thermal transfer guide on Label Toolkit's blog covers the full decision tree, including durability and outdoor use cases.
Beyond media type, label stock surface quality matters. Economy label rolls sometimes have coating inconsistencies that produce voids (tiny white gaps) inside printed bars. A void as small as 0.2 mm inside a narrow bar can cause a Code 128 decoder to misread the bit pattern. If voids appear consistently in the same position across a roll, the label stock is likely the culprit. Switch to a certified media from your printer manufacturer and test again.
Ribbon type is equally important for thermal-transfer jobs. Wax ribbons suit paper labels for ambient-temperature shipping environments. Wax-resin and full-resin ribbons suit synthetic (polypropylene or polyester) label stock. Pairing a wax ribbon with a synthetic label produces smearing and poor adhesion of the printed image, which causes scan failures and abrasion-related degradation over the label's life.
4. Data faults: encoding errors and check digits
A barcode encodes specific data according to a symbology specification. Get the data wrong and the printed symbol is technically valid but decodes to unexpected content, causing software to reject it rather than the scanner to fail. This looks identical to a hardware problem from the outside.
Common data faults include:
Wrong check digit: UPC-A, EAN-13, and ITF-14 all include a mandatory check digit calculated from the other digits. If you hand-type the full number including the check digit and get one digit wrong, the barcode prints but any GS1-compliant scanner rejects it immediately.
Non-encodable characters: Code 39 supports only 43 characters (uppercase A-Z, digits 0-9, space, and seven symbols). Feeding it a lowercase letter or an asterisk in the wrong position causes most encoders to silently strip the character or generate a corrupted symbol.
Length violations: GTIN-13 must be exactly 13 digits. A 12-digit input will cause some encoders to left-pad with a zero, producing a valid but unintended code; others will generate an error symbol that scans as garbage.
GS1 Application Identifier errors: GS1-128 barcodes embed structured data using two- to four-digit Application Identifiers (AIs) such as (01) for GTIN and (17) for expiry date. An AI that does not match the field length rule in the GS1 General Specifications will cause GS1-compliant readers to raise a parse error even if the barcode scans cleanly at the hardware level.
Label Toolkit validates barcode data at the moment you type it into the designer, flagging check digit mismatches and character set violations before the label is ever printed. This catches data faults at the source rather than during a receiving scan at a retail DC.
Step-by-step diagnostic procedure
Work through these steps in order. Most failures resolve by step 4.
Scan with a second device. Use a smartphone barcode scanning app (Google Lens or a dedicated scanner app) on the suspect label. If the phone reads it instantly, the problem is your production scanner or its software settings, not the label. If the phone also fails, continue to step 2.
Measure the quiet zone. Place a ruler against the label. Measure the blank space from the last bar (or last module for 2D codes) to the nearest print or label edge. For 1D codes the minimum is 10x your X-dimension; for QR and Data Matrix it is 4 modules. Redesign the label in Label Toolkit if the quiet zone is short.
Print a calibration pattern. Most Zebra printers print a configuration label by holding the feed button during power-on. Examine the calibration output: are thin lines crisp and separate? If lines merge, lower the print darkness by 2 units. If lines are faint or incomplete, raise darkness by 2 units. Reprint and re-scan.
Swap media. Load a fresh roll of OEM-certified label stock and, for thermal-transfer jobs, a new ribbon. Print the same label again. If it now scans, the old media was the problem.
Verify print speed. Lower the speed setting by 2 ips (for example, from 6 to 4 ips) and reprint. If bars are now crisper, the printhead was not transferring enough heat at the higher speed.
Check the barcode data independently. Copy the intended data string into Label Toolkit's barcode designer and use the built-in validator. Verify the check digit manually. For UPC/EAN, use the GS1 check digit formula (alternating weight of 1 and 3, sum modulo 10).
Measure bar width deviation. If you have a barcode verifier (an ISO 15416-compliant device for 1D codes or ISO 15415 for 2D), grade the symbol. A grade of C or above passes most retail and logistics requirements. A grade of D or F means the printed bars deviate from the specification by more than the allowed tolerance and the label must be redesigned or the printer recalibrated.
Re-examine the design at native DPI. Open the label in Label Toolkit, set the canvas to the printer's DPI (203 or 300), and check that no element overlaps or crowds the barcode. Export a vector PDF at native scale and zoom in to confirm bar edges are sharp, not anti-aliased.
Specific failure patterns and what they mean
What you see on the label
Most likely cause
Fix
Bars bleed together, symbol looks solid
Print darkness too high
Reduce ^MD by 2 to 4 units; lower print speed
Bars are faint gray, not black
Print darkness too low or wrong media type
Increase ^MD; confirm media is direct-thermal or ribbon is loaded
Voids (white gaps) inside bars
Dirty printhead or damaged media coating
Clean printhead with IPA swab; replace label roll
Barcode smears or smudges on touch
Ribbon-media mismatch (wax on synthetic stock)
Switch to wax-resin or resin ribbon for synthetic labels
Scanner beeps but system rejects the code
Check digit error or wrong AI in GS1-128
Recalculate check digit; validate GS1 AI structure
Code scans on phone but not on fixed scanner
Production scanner decode settings or aging laser
Update scanner firmware; adjust scanner sensitivity or aperture
Label prints blank on one end
Misaligned printhead or partial media gap detection failure
Run media calibration (~JC in ZPL); realign label in guide
Quiet zone visually fine but still fails
Background color or tinted label stock reducing contrast
Use white label stock; ensure black bars, not dark brown or navy
ZPL-specific barcode troubleshooting
If you are generating labels programmatically using ZPL (Zebra Programming Language), a handful of command-level mistakes cause the majority of scan failures in production environments.
Check the ^BC command parameters
The ^BC command generates a Code 128 barcode. Its syntax is:
^BCo,h,f,g,e,m
Where o is orientation (N, R, I, B), h is height in dots, f prints interpretation line (Y or N), g prints interpretation line above (Y or N), e enables UCC check digit (Y or N), and m is the mode (N for auto, U for UCC/EAN, A for Code 128-A, D for Code 128-D). Leaving h too short (under 64 dots at 203 DPI, roughly 8 mm) makes the barcode difficult for omnidirectional scanners to acquire. A safe minimum height is 15% of the barcode's length, with a hard floor of 6.35 mm per GS1 specifications.
A minimal working Code 128 example in ZPL:
^XA
^FO50,50
^BCN,80,Y,N,N
^FD1234567890^FS
^XZ
The ^FO50,50 positions the field 50 dots from the left edge and 50 dots from the top, preserving the quiet zone from the label edge. Dropping ^FO to ^FO0,0 would eliminate the left quiet zone entirely.
For QR codes, the ^BQ command controls error correction level. Use ^BQN,2,M for medium error correction (15% data recovery), which balances scan reliability with module density. For small labels under 15 mm square, consider switching to ^BQN,2,H (high, 30% recovery) to compensate for any print imperfection at small module sizes.
You can preview and validate any ZPL snippet in Label Toolkit's ZPL import tool, which renders the code visually so you can spot quiet-zone and sizing issues without printing a single test label.
How print speed affects scan reliability
This is one of the least discussed but most impactful variables in production environments. At 2 inches per second (ips), the printhead has maximum dwell time over each dot row, producing the sharpest possible bars. At 8 ips or 12 ips, dwell time drops sharply and bars become shorter in the direction of media travel than the firmware intends. The result is a barcode that is technically printed at the correct width but with bars that are short enough to change the perceived white-to-black contrast ratio for some scanners, particularly older laser-based units.
For high-volume shipping label operations, running at 4 to 6 ips is usually the best compromise between throughput and quality. If scan failure rates rise during peak periods when operators crank the speed up, that is a strong signal that speed is the culprit.
When the label is fine but the scanner still fails
Sometimes the label is genuinely good and the scanner is the problem. Laser-based CCD scanners degrade over time; the laser diode dims and the aperture optics gather grime. An aging Zebra DS3608 or Honeywell Xenon that reads perfectly in good lighting may fail under warehouse fluorescent lights or at oblique angles. Test the suspect scanner against a known-good barcode from a new, clean label. If it fails that too, the scanner needs servicing or replacement.
Imager-based scanners (2D area imagers) are less sensitive to aging optics and handle poor-quality barcodes more gracefully than laser scanners because they capture a full image and run software decoding algorithms. If you are seeing chronic scan failures on 1D barcodes with laser scanners, upgrading to an area imager often resolves the problem without changing a single label.
Checklist before going to production
Run through this list every time you create a new label design or change a barcode data source:
Quiet zone is at least 10x the X-dimension for 1D codes, 4 modules for 2D codes.
Barcode height meets the minimum for the symbology (6.35 mm for GS1, or 15% of symbol length, whichever is greater).
Print darkness validated with a test print; bars are black, not gray, and not bleeding.
Media type confirmed (direct thermal or thermal transfer) and ribbon loaded if required.
Check digit verified independently for UPC-A, EAN-13, ITF-14, and GS1 AI structure.
Label design proofed at native DPI in Label Toolkit's canvas, then exported as vector PDF for the sharpest possible output.
At least one physical test scan with a production scanner before the full batch runs.
For a broader grounding in all the hardware variables that affect label quality, the Label Printing and Hardware pillar covers printer selection, DPI, media types, and more in one place.
GS1's published barcode quality and verification standards are the authoritative external reference for print quality grading: the GS1 General Specifications define minimum quiet zones, check digit algorithms, and the ISO 15416 grading framework for every GS1 symbology. The Zebra Technologies ZPL II Programming Guide (available in Zebra's developer portal) is the primary reference for all ^BC, ^BQ, ^MD, and related commands.
Frequently asked questions
Why does my barcode scan on my phone but not on the warehouse scanner?
Smartphone cameras use high-resolution image sensors and aggressive software decoding that tolerates poor print quality better than dedicated laser or CCD scanners do. A barcode that a phone can decode may still fail an industrial scanner because the bar-to-space contrast ratio or the quiet zone is below the tolerance the production scanner requires. Measure quiet zones and print a higher-darkness test to improve contrast.
How do I know if my quiet zone is large enough?
Measure from the last printed bar (or module) to the nearest other mark or label edge. For Code 128, Code 39, and GS1-128 the minimum is 10 times the narrowest bar width. For a typical 203 DPI label with a 2-dot X-dimension (0.25 mm), that means at least 2.5 mm of blank space on each side. If you are unsure of your X-dimension, count the dots in the narrowest bar under a loupe or digital microscope.
Can a barcode look perfect visually and still not scan?
Yes. Data encoding errors, such as a wrong check digit or a character the symbology cannot represent, produce a barcode that looks correct to the eye but decodes to an invalid or unexpected string. GS1-compliant scanners reject these immediately even though the hardware scan succeeds. Always validate the data string in your label design tool before printing.
What print darkness setting should I use on a Zebra printer?
Start at the factory default (usually 0 on the ^MD scale) and print a test label. If bars look faint, increase by 2 units at a time up to a maximum of +10 before investigating media quality. If bars bleed together, decrease by 2 units. The correct darkness varies by media brand and ribbon type, so always test after switching consumables.
Does print speed affect barcode scan reliability?
Yes, significantly. Higher print speeds (8 ips or above) reduce the time the printhead heats each dot row, which can make bars shorter in the feed direction and reduce contrast, especially on cheaper media. Dropping from 8 ips to 4 ips is often enough to recover failing barcodes in a production run without any other changes.
Ready to design barcode labels that scan first time, every time? Create a free Label Toolkit account and proof your label at native DPI in the browser, with built-in barcode validation, before printing a single sheet.