Return address labels are pre-printed stickers showing your name and mailing address so recipients know who sent a package. The most common sheet size in North America is the Avery 5160 format: 30 labels per sheet at 1 inch by 2.625 inches (25.4 mm by 66.7 mm). With Label Toolkit you can design, merge, and print return address labels free, entirely in your browser, with no software to install and no account required to start.
Avery 5160 labels measure 1 in x 2.625 in (25.4 mm x 66.7 mm), 30-up on a standard US letter sheet.
Label Toolkit exports an exact-size vector PDF you drop straight into any desktop printer dialog, no scaling required.
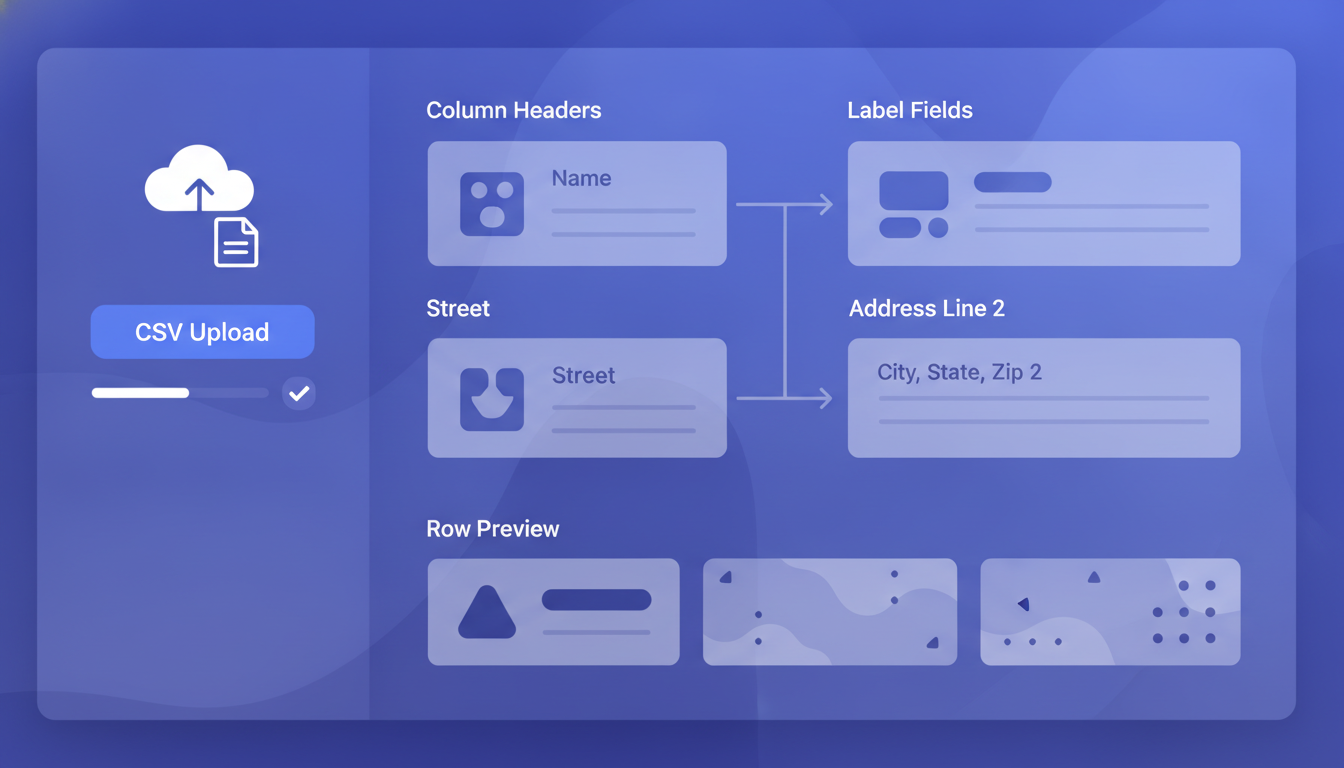
Upload a CSV or paste a spreadsheet to bulk-print hundreds of personalised return address labels in one pass.
The whole workflow runs in the browser; no install, no Word, no Avery software needed.
What sizes do return address labels come in?
Most office-supply stores stock a handful of standard sheet label sizes. The table below covers the three you are most likely to encounter, along with the matching Avery template number and the exact canvas dimensions to enter in Label Toolkit.
Avery publishes its full template dimension library at avery.com/templates, which is worth bookmarking if you ever need a less common size. The key principle is simple: set your canvas in Label Toolkit to the exact label size, not the sheet size, and the PDF exporter tiles everything automatically.
How to set up a return address label in Label Toolkit
The steps below use the Avery 5160 (1 in x 2.625 in) as the example. If you are using 5161 or another size, substitute the dimensions from the table above.
Open the designer. Go to Label Toolkit designer. No account is required to start designing.
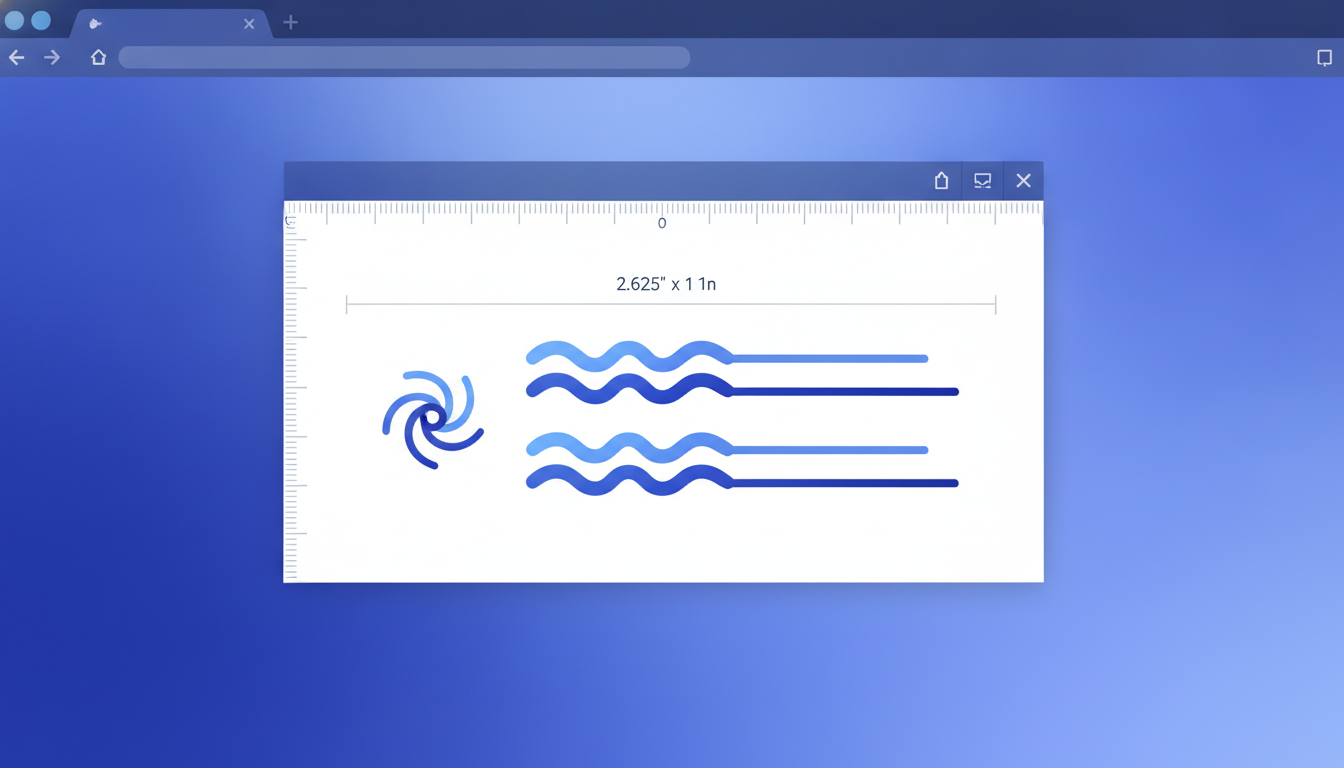
Set the canvas size. Click the canvas settings icon (the cog next to the ruler). Enter Width: 2.625 in and Height: 1 in (or switch to millimetres and enter 66.7 x 25.4). Select your preferred unit and click Apply. The canvas snaps to the exact label footprint.
Add a text field for the name. Click the Text tool, draw a box across the top third of the canvas, and type your name or the placeholder {{name}} if you plan to merge from a spreadsheet. Set the font size to 8 pt or 9 pt so text fits comfortably within 1 inch of height.
Add address lines. Add a second text field for the street address, a third for city, state, and ZIP. Keep a 2 mm (0.08 in) margin on all sides so text does not bleed into the gap between labels when the sheet is printed.
Add an optional logo or graphic. Use the Image tool to upload a small PNG. Keep it in the left 20% of the canvas and size it to roughly 7 mm x 7 mm so it does not crowd the address text.
Preview at 100%. Use View, Actual Size to confirm the layout looks right at the physical dimensions before you export.
Export the PDF. Click Print or Export PDF. Label Toolkit generates a true vector PDF sized exactly 2.625 in x 1 in. When you open this in your OS print dialog or in Adobe Reader, choose Actual Size (not Fit to Page or Scale to Fit). Your printer will tile the labels to fill the sheet according to the margins of the Avery stock.
If you want a head start, the Avery 5160 label template in Label Toolkit opens a pre-sized canvas with placeholder text already placed correctly, so you can skip steps 2 through 4 above.
How to print the PDF on a sheet of Avery 5160 labels
Getting the print dialog right is where most people run into trouble. The labels print at the wrong size or shift because the driver is silently scaling the page.
Desktop printer (inkjet or laser)
Load a sheet of Avery 5160 (laser) or Avery 8160 (inkjet) label stock into your printer's main tray, label side up for most inkjet models.
Open the exported PDF in your browser or in a PDF viewer such as Adobe Acrobat Reader.
Press Ctrl+P (or Cmd+P on Mac) to open the print dialog.
Under Page Sizing, choose Actual Size. Never choose Fit or Shrink to Printable Area; even a 2% scale shift moves the printed text off the label grid.
Set Orientation to Portrait for 5160 labels.
Choose your paper size as Letter (8.5 in x 11 in).
Print one test sheet on plain paper first. Hold it up to a light behind a real label sheet to confirm the text lands inside each label cell before you waste label stock.
Label Toolkit exports a fully vector PDF, meaning text and borders stay sharp at any resolution. You do not need to worry about pixelated output even on a 600 dpi laser printer. For more on why vector output matters for crisp small text, see the guide to true vector PDF label export.
Thermal label printer (Zebra, DYMO, Rollo)
If you are printing individual return address labels on a thermal roll printer rather than sheets, set your canvas to the die-cut size of your labels. A common roll size for address labels is 1.25 in x 3.5 in (31.75 mm x 88.9 mm). Export the PDF and send it via your printer's native driver or the browser print dialog. For Zebra printers, Label Toolkit also exports ZPL if you need to automate printing programmatically.
How to bulk-print return address labels from a CSV
Sending holiday cards to 200 contacts, or fulfilling personalised orders for a small shop? The data merge workflow in Label Toolkit lets you generate one label per row in a spreadsheet without touching each one manually.
Preparing your CSV
Your CSV needs a header row. The column names become the merge field names. A minimal return address CSV looks like this:
name,street,city_state_zip
Jane Smith,42 Maple Ave,Springfield IL 62701
Carlos Rivera,18 Oak Street,Austin TX 78701
Save it as a UTF-8 CSV. Google Sheets: File, Download, Comma Separated Values. Excel: File, Save As, CSV UTF-8.
Running the merge in Label Toolkit
Design your label as described above, but use {{name}}, {{street}}, and {{city_state_zip}} as the text content of each field instead of static text.
Open the Data Merge panel (the spreadsheet icon in the right sidebar).
Click Upload CSV and select your file. Label Toolkit reads the headers and maps them to your fields automatically.
Use the row preview arrows to step through a few records and confirm the text fits in each field without overflowing.
Click Print All. The exporter generates one label page per row, or, if you are printing to a sheet format, it fills each label cell on each sheet in order.
Print the resulting PDF using the Actual Size setting described above.
This is the same data merge engine used for bulk SKU labels and Amazon FBA FNSKU runs. For a deeper walkthrough of the CSV format and conditional logic, the print labels from Excel mail merge guide covers the same workflow in detail and is part of the broader data merge workflows pillar.
Tips for professional-looking return address labels
Font size and line spacing
At 1 inch of height with a 2 mm top and bottom margin, you have roughly 21.4 mm of usable height. Three lines of text at 8 pt with 1.2x line height use about 10 mm, leaving plenty of breathing room. Go smaller than 7 pt and inkjet printing can blur thin strokes. 8 pt to 10 pt is the sweet spot for name and address lines.
Keeping text from touching the die-cut edge
Avery specifies a 0.0625 in (1.6 mm) bleed margin between the printed area and the die-cut edge. Label Toolkit's ruler guides let you snap objects to a 2 mm inset so you stay well clear of that boundary.
Colour printing considerations
Laser printers handle solid colour backgrounds on small labels reliably. Inkjet printers can smear if the label surface is glossy and you are printing in high humidity. For a pure-white matte stock like the standard Avery 5160, inkjet output is fine at normal 300 to 600 dpi print quality settings.
Using a logo on a small label
Keep any logo to 7 mm x 7 mm or smaller so it does not dominate the 25.4 mm label height. Upload a PNG with a transparent background so it blends against any label colour. The Image tool in Label Toolkit preserves aspect ratio by default when you drag a corner handle.
Frequently asked questions
What size are standard return address labels?
The most common standard is Avery 5160: 1 inch tall by 2.625 inches wide (25.4 mm x 66.7 mm), with 30 labels on a US letter sheet. Avery 5161 labels are 1 inch by 4 inches and give you more horizontal space for longer addresses. Both are widely available at office supply stores and online.
Can I print return address labels without Word or Avery software?
Yes. Label Toolkit runs entirely in the browser, so there is no Word mail merge wizard to configure and no Avery Design and Print software to install. Set your canvas to the exact label dimensions, design your label, and print the exported PDF at Actual Size from any PDF viewer.
How do I print 30 different addresses on one sheet of Avery 5160 labels?
Upload a CSV with 30 rows to Label Toolkit's Data Merge panel, place merge fields like {{name}} on your label canvas, then click Print All. The exporter fills each of the 30 label cells on the sheet with the corresponding row from your CSV.
Why are my printed labels slightly off-center on the sheet?
Almost always this is a print scaling issue. Open the PDF in Acrobat Reader or your OS PDF viewer and select Actual Size in the print dialog, not Fit to Page. Even a 1% scale difference on a letter sheet shifts the grid by about 2.75 mm, which is enough to push text into the gap between labels.
Can I use this workflow for shipping labels as well as return address labels?
Yes, though shipping labels typically use a 4 inch x 6 inch (101.6 mm x 152.4 mm) format printed one per page on thermal roll stock rather than a 30-up sheet. The Label Toolkit canvas size setting handles both; just change the dimensions to match your label stock.
Ready to design your first sheet? Create a free Label Toolkit account to save your label, share it with a link, and re-print any time your address changes.