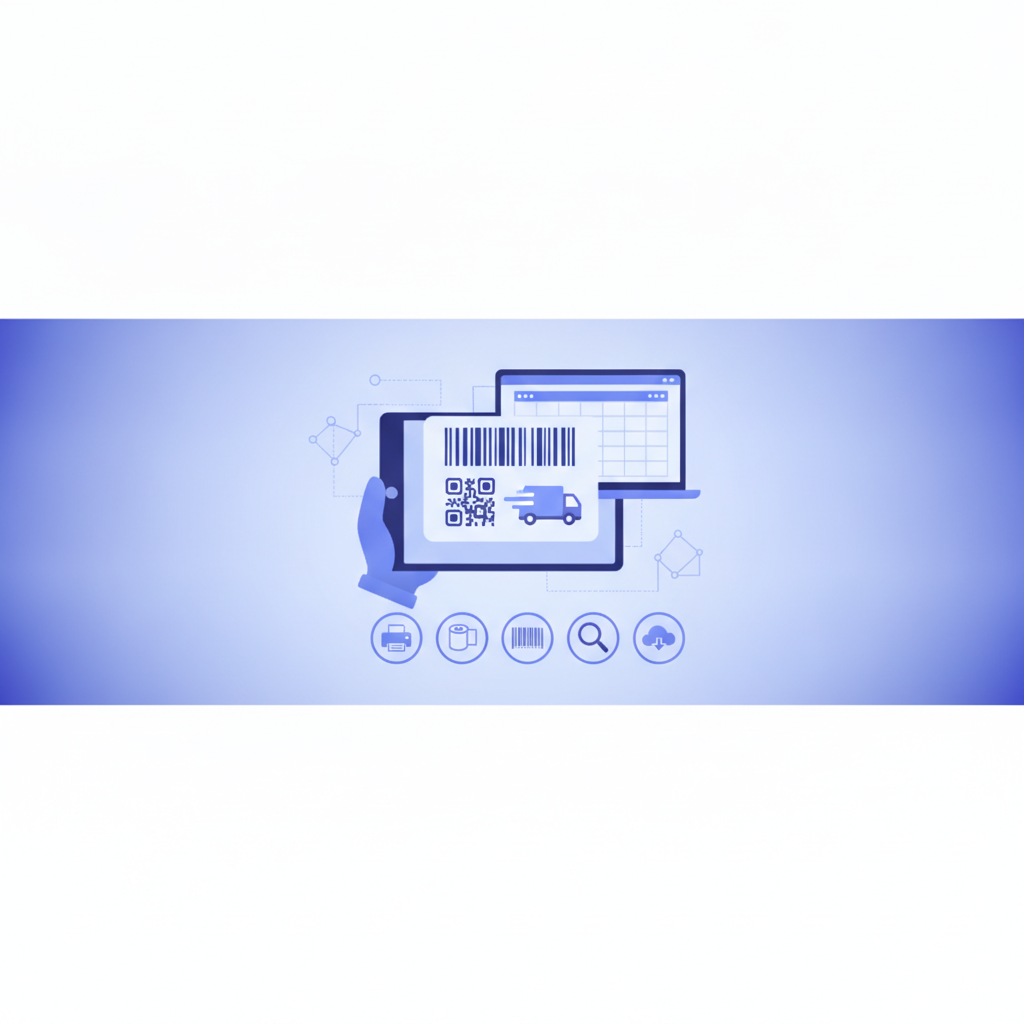
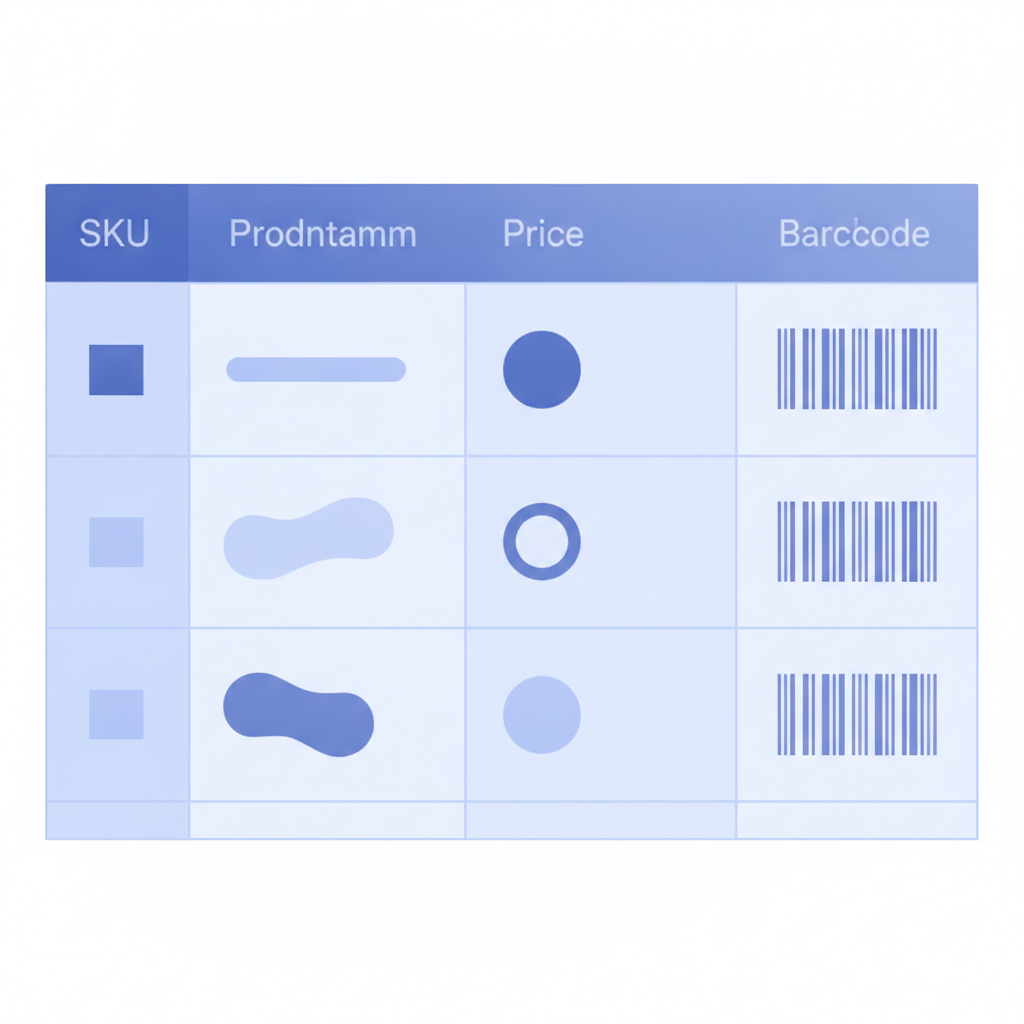
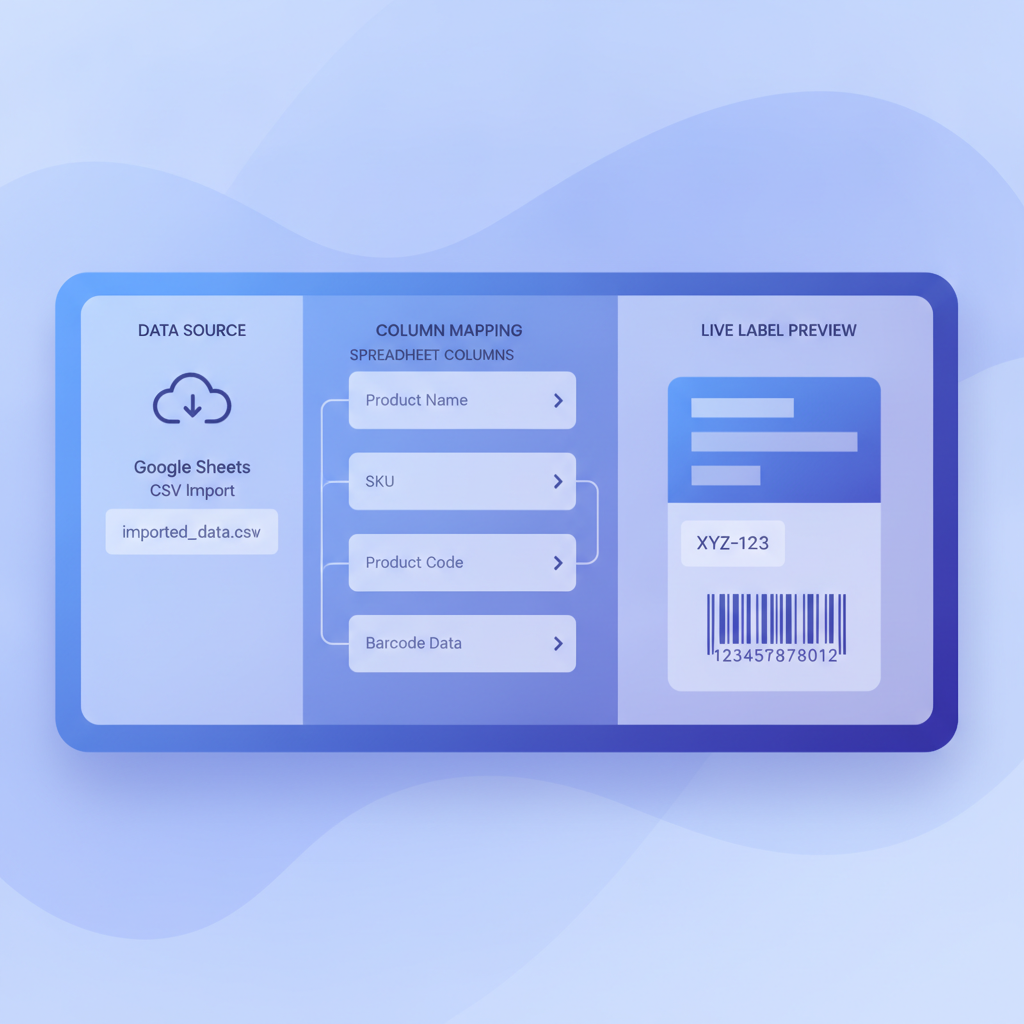
Printing labels from Google Sheets means exporting your sheet as a CSV file, importing that CSV into Label Toolkit, mapping each column to a field on your label template, and then generating one label per row in a single batch. The entire process runs in your browser with no add-ons and no software to install, and it is free to start.
Export your Google Sheets data as a plain CSV (File > Download > CSV).
Label Toolkit reads the CSV headers and maps them to text, barcode, or QR code fields on your label canvas.
One click generates every label in the batch; print to a PDF or export ZPL for a Zebra thermal printer.
No Google account permissions, no paid add-ons, and no desktop software are required.
Why Google Sheets users need a different workflow
Google Sheets stores data in the cloud and does not support the local mail-merge plugins that many desktop tools rely on. Word-processor mail merge solutions require you to download the sheet, open a desktop app, map columns manually, and re-export every time data changes. Label Toolkit's CSV import loop is much tighter: download once, import, preview every row instantly, print or export.
If you already use Excel, the mechanical steps are nearly identical, but the export path differs slightly. The separate guide on printing labels from Excel for thermal printers covers the Excel-specific quirks such as cell formatting that can corrupt leading zeros in barcodes. This article focuses exclusively on Google Sheets.
What you need before you start
A Google Sheets spreadsheet with a header row (row 1) and one record per row below it.
A free Label Toolkit account (or just open the designer as a guest for a single session).
A label template, either chosen from the free template gallery or built from scratch in the designer.
A printer: any inkjet or laser printer for sheet labels, or a thermal printer such as a Zebra GX430t, ZD420, or ZD621 for roll labels.
Step 1: Prepare your Google Sheets data
Clean data prevents merge errors. Follow these rules before exporting:
Put column headers in row 1. Label Toolkit uses these as merge field names. Keep them short and descriptive: SKU, ProductName, Price, Barcode, Qty.
Format barcode columns as plain text. In Google Sheets, select the column, choose Format > Number > Plain text. This stops Sheets from dropping leading zeros in UPC or EAN codes and prevents scientific notation on long GTINs.
Remove blank rows. A blank row inside the data range creates an empty label in the batch. Use Edit > Find and replace or a simple filter to delete them.
Check for special characters in text fields. Commas inside a cell are fine because Sheets wraps them in quotes when exporting CSV. Embedded newlines can cause row-split issues; replace them with a space if they appear.
Limit to what you need. Delete columns your label does not use. A tighter CSV is easier to map and faster to import.
Step 2: Export as CSV
Open your Google Sheet.
Click File > Download > Comma-separated values (.csv, current sheet).
Save the file somewhere easy to find, for example your Desktop. The file name does not matter to Label Toolkit.
If your spreadsheet has multiple sheets (tabs), only the currently active sheet exports. Switch to the correct tab before downloading.
Step 3: Choose or build your label template in Label Toolkit
To set custom dimensions, click the canvas settings panel and enter width and height in millimetres or inches. Common sizes:
Label use case
Typical size (mm)
Typical size (inches)
Shipping label
101.6 x 152.4 mm
4 x 6 in
Product / retail label
50 x 25 mm
2 x 1 in
Asset tag
63.5 x 29.2 mm
2.5 x 1.15 in
Warehouse bin label
101.6 x 50.8 mm
4 x 2 in
Amazon FBA / FNSKU label
25.4 x 15.2 mm
1 x 0.6 in
Add text fields, barcode fields, and QR code fields to the canvas for every piece of variable data you plan to pull from the sheet. You can also add static elements (your logo, fixed text, borders) that will appear identically on every label in the batch.
Step 4: Import your CSV and map columns to fields
In the Label Toolkit designer, open the Data Merge panel (look for the spreadsheet icon in the right sidebar).
Click Import CSV and select the file you downloaded from Google Sheets.
Label Toolkit reads the header row and lists every column name. It also shows a live preview of your first data row immediately.
For each field on your canvas, select the matching column from the dropdown. For example, map the text field labelled "Product" to the ProductName column.
For barcode fields, map the barcode's data source to the Barcode (or SKU, GTIN, etc.) column. The designer encodes the value using whichever symbology you have set on that barcode element, such as Code 128 or QR.
Click Preview to step through rows 1, 2, 3 and verify the merge is correct before committing to the full batch.
Step 5: Handle barcodes and QR codes in your merge
Variable barcodes are one of the most common reasons people move from a mail-merge word processor to a dedicated label tool. Label Toolkit generates each barcode from the raw text value in that row's cell, at print time, in the browser. No pre-generated barcode images are needed in your sheet.
Which barcode symbology should I choose?
The short answer depends on what the label is for. The detailed breakdown lives in the data merge workflows pillar, but here is a quick reference:
Use case
Recommended symbology
Max data capacity
Internal SKU / warehouse
Code 128
~48 chars at 1 inch wide
Retail shelf (UPC-A)
UPC-A / EAN-13
12 or 13 digits only
URL, WiFi, contact card
QR Code
Up to 4,296 alphanumeric chars
Tiny PCB / pharma label
Data Matrix
Up to 2,335 alphanumeric chars
Carton / pallet (GS1)
GS1-128 / ITF-14
Variable (AI-structured)
One important note on quiet zones: every barcode needs a margin of white space around it called a quiet zone. For Code 128 the minimum is 10x the narrow bar width on each side; for a typical 203 DPI Zebra label that means at least 2.5 mm on each end. The quiet zone guide has the exact measurements by symbology. Label Toolkit enforces a safe quiet zone automatically, but if you shrink the element below the minimum, a warning appears.
Step 6: Generate and print your labels
Once the preview looks correct, click Generate all labels. Label Toolkit renders one label per data row. You then have two output paths:
Option A: Print to PDF (inkjet, laser, or sheet-fed thermal)
Click Export PDF. The designer produces a multi-page PDF with one label per page, or a sheet layout if you chose a sheet-label template such as Avery 5160 (66.7 x 25.4 mm, 30 labels per letter sheet).
Open the PDF in any PDF viewer and send to your printer. Set the printer to "actual size" (not "fit to page") to preserve label dimensions.
For full print-ready quality, the PDF export is true vector, meaning barcodes and text remain crisp at any size without pixelation.
Option B: Export ZPL for a Zebra thermal printer
Click Export ZPL. Label Toolkit produces a .zpl file containing one label format block per data row, each wrapped in ^XA ... ^XZ delimiters.
Send the file directly to your Zebra printer over the network (TCP port 9100) or via USB using Zebra's ZDesigner driver or a raw-socket utility.
For a 203 DPI printer (8 dots per mm), Label Toolkit sets the print density so that a 1 mm element is 8 dots wide. A 300 DPI printer (12 dpmm) gives finer text and tighter barcodes on small labels.
Each label in the ZPL output uses ^FO (field origin) for positioning, ^FD / ^FS pairs for data, and ^BC for Code 128 or ^BQ for QR, with the merged row value inserted directly into the ^FD argument.
Step 7: Handle common problems
Leading zeros disappear from barcode data
This is the single most common issue. Go back to Google Sheets, select the barcode column, and set its format to Plain text (Format > Number > Plain text). Re-enter any affected values, then re-export the CSV. The zeros will be preserved in the file.
My barcode column contains UPC-A but the values are 13 digits
Google Sheets may have silently converted your 12-digit UPC to a 13-digit number by adding a leading zero as a thousands-separator artifact. Check the raw cell value; if it reads 012345678905 instead of 12345678905, switch the column to Plain text format and correct the values before exporting.
Row count in Label Toolkit does not match row count in Sheets
Check for blank rows inside your data range. Also confirm you exported only the active sheet, not a filtered view that hides rows. Google Sheets exports all visible rows in the active sheet, regardless of any filter state; to exclude filtered rows you must delete them first or export a manual copy of the visible data only.
Accented characters or emoji appear as boxes
Ensure your CSV is saved as UTF-8. Google Sheets exports UTF-8 by default, so this issue usually arises only if the CSV was subsequently opened and resaved in a non-UTF-8 editor like an older version of Excel. Open the CSV in a plain-text editor (VS Code, Notepad++, TextEdit in plain-text mode) and resave explicitly as UTF-8 if needed.
How to update labels when your sheet changes
Because Label Toolkit stores your label template separately from the data, updating is straightforward:
Make your changes in Google Sheets.
Export a new CSV (File > Download > CSV).
In Label Toolkit, open the saved label and go to Data Merge > Import CSV > replace the existing file.
Re-preview and re-generate. Your column mappings are remembered from the previous session.
If you generate labels frequently, consider keeping your Google Sheet in a dedicated format with fixed column positions so the mapping never needs to change between runs. Pair this with the auto-numbering and conditional fields feature to generate sequential serial numbers alongside your Sheets data without modifying the spreadsheet itself.
Tips for specific label types
Shipping labels from Google Sheets
Use columns for recipient name, address line 1, address line 2, city, state, zip, and tracking number. Map the tracking number to a Code 128 barcode (the format used by USPS, UPS, and FedEx for parcel scanning, as defined in the USPS Shipping Resources documentation). Print at 300 DPI or higher for reliable scan rates on sortation equipment.
Retail price labels
Include SKU, product name, price, and a UPC-A or EAN-13 barcode. For GS1-registered products, the barcode value must be a valid GTIN with a correct check digit; GS1's check-digit calculator at gs1.org can verify your values before you print a full batch.
Warehouse bin labels
A bin label typically carries a location code (aisle-bay-level, for example A01-B03-L2) and a human-readable description. A large Code 128 barcode of the location code lets staff scan to confirm picks. Use a 4 x 2 inch or 101.6 x 50.8 mm canvas and a minimum X-dimension (narrow bar width) of 0.25 mm for reliable scanning at arm's length with a standard CCD scanner.
Amazon FBA FNSKU labels
FNSKU labels require a Code 128 barcode and specific text fields. Amazon specifies a minimum label size of 1 x 2 inches (25.4 x 50.8 mm). Pull the FNSKU codes from a Sheets column and map them to the barcode field. Each unit needs its own label, so a 500-row sheet produces 500 distinct labels in a single export.
Frequently asked questions
Can I print labels from Google Sheets without any add-ons?
Yes. Label Toolkit requires no Google Workspace add-ons and no browser extensions. You export a CSV from Sheets, import it into the Label Toolkit designer, and print or export from there. Everything runs in the browser.
Does Label Toolkit connect directly to Google Sheets via API?
Not yet. The current workflow uses a CSV export as the data handoff. This keeps your Google account permissions completely private since no OAuth connection to your Sheets is required. For automated or high-frequency pipelines, the developer API approach is worth exploring via the Label Toolkit docs.
How many rows (labels) can I generate in one batch?
There is no hard row limit imposed by Label Toolkit for CSV imports. Practical limits depend on your browser's available memory. Batches of 1,000 to 5,000 labels per session work well on a modern laptop. For very large runs, split your CSV into segments of around 2,000 rows each.
Will barcodes in the merged labels actually scan?
Yes, provided the source data is valid for the chosen symbology and the label is printed at an adequate resolution. The most common cause of unscannable merged barcodes is corrupted data (dropped leading zeros or extra spaces) rather than a rendering problem. Preview each row before printing and cross-check a few barcodes with a phone scanner app before running the full batch.
Can I merge images from Google Sheets, not just text?
Label Toolkit's data merge currently supports text, numeric, and barcode/QR fields. Per-row variable images are not yet supported via CSV merge. Static images (your logo, fixed icons) can be placed on the canvas and will appear on every label in the batch.
Ready to turn your next Google Sheet into a finished label batch? Create a free Label Toolkit account and import your CSV in under two minutes.
#labels from google sheets #data merge #bulk labels #print labels from spreadsheet #google sheets labels #mail merge labels #barcode labels