
← Back to Blog
Data Merge & Workflows

How to Print Labels from Excel: Step-by-Step Mail Merge for Thermal Printers

Olivia MorganSeptember 16, 2026975 views

To print labels from Excel, export your spreadsheet as a CSV file, upload it to Label Toolkit's data merge tool, map each column to a label field, preview the variable data, and print directly to a thermal or PDF-capable printer, all in the browser with no software to install. Label Toolkit handles the merge in seconds, whether you have 10 rows or 10,000.

  • Export your Excel sheet as a UTF-8 CSV; Label Toolkit reads CSV, not XLSX directly.
  • One column per variable field: product name, SKU, price, barcode value, and so on.
  • The designer lets you place text, barcodes, and QR codes that update live as the merge runs.
  • Output options include PDF (for inkjet or laser), direct thermal print, and Zebra ZPL for network-connected label printers.

Why thermal printers need a different approach than Word mail merge

Microsoft Word's built-in mail merge targets laser and inkjet printers on Avery or similar sheet stock. Thermal label printers, the kind used in warehouses, retail stockrooms, and shipping departments, use a completely different driver model. They expect either a raw language like ZPL (Zebra Programming Language) or a print dialog that respects custom media sizes like 4 x 6 inches or 102 x 152 mm. Word does not do either reliably.

Label Toolkit is purpose-built for this gap. The canvas matches your physical label size exactly, the PDF engine produces true vector output for crisp barcodes at any scale, and the ZPL export speaks natively to Zebra printers without a driver install.

Step 1: Prepare your Excel spreadsheet

The merge reads column headers as field names, so your first row matters. Keep headers short, no spaces or special characters that might corrupt the CSV, and put exactly one data point per column.

Recommended column layout

Column headerExample valueMaps to label field
SKUWH-1042-BLKBarcode data and text
ProductNameHeavy Duty GlovesMain text line
Price$14.99Price field
Qty12Secondary text
BinLocationA-04-CBin label text
SerialNumberSN00001Sequential field

Avoid merged cells; Excel merges do not survive the CSV export cleanly. If a cell contains a comma, wrap the value in double quotes before saving, though Excel handles this automatically when you use Save As CSV UTF-8.

How to export from Excel as CSV

  1. Open your workbook and make sure the label data is on Sheet 1 (or the active sheet).
  2. Go to File > Save As and choose the location.
  3. In the file format dropdown, select CSV UTF-8 (Comma delimited) (.csv). This preserves accented characters and special symbols.
  4. Click Save. Excel will warn you that only the active sheet will be saved; confirm.
  5. Close the XLSX version and open the CSV in a plain text editor to spot any formatting issues before uploading.
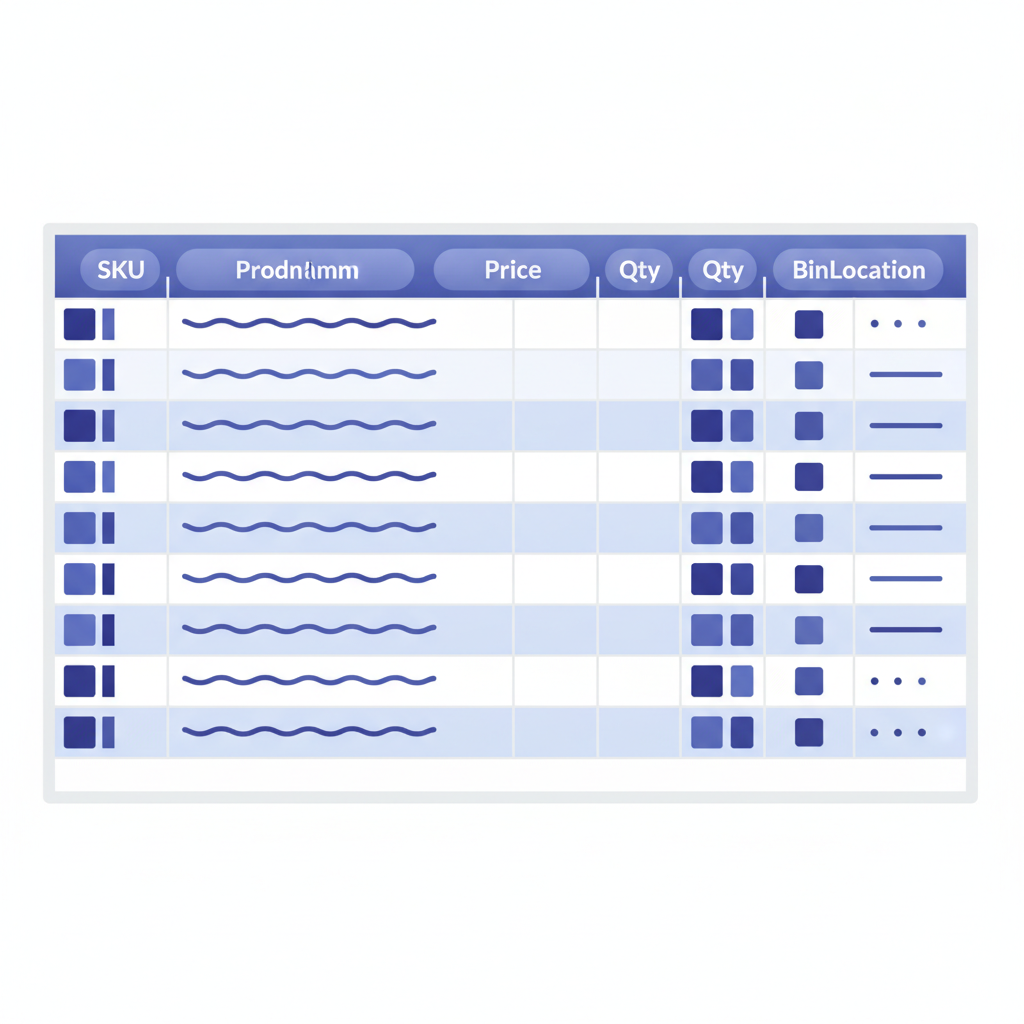
A clean Excel spreadsheet with labeled columns: SKU, ProductName, Price, Qty, BinLocation, showing 8 rows of sample product data

Step 2: Set up your label design in Label Toolkit

Before importing data, build the template. The template defines where each field appears on the physical label. Think of it as the shell: static elements like your logo or a border stay fixed, while merge fields act as placeholders that fill in per row.

  1. Go to Label Toolkit's free online designer and create a new label.
  2. Set the canvas size to match your label stock. Common thermal sizes: 4 x 6 in (102 x 152 mm) for shipping, 2 x 1 in (51 x 25 mm) for small product labels, 4 x 2 in (102 x 51 mm) for warehouse bin labels. Enter the width and height in the Label Size panel.
  3. Add a text field for each variable column. Click the text tool, draw a text box, then type the placeholder name surrounded by curly braces, for example {{ProductName}}. The merge engine will replace this with the value from the matching column header.
  4. Add a barcode field if a column holds barcode data. Select the barcode type (Code 128 is the default for alphanumeric SKUs; use EAN-13 or UPC-A for retail GTINs) and set the data source to the column name, such as {{SKU}}.
  5. Position fields using the ruler and grid. Thermal printers print at either 203 DPI (8 dots per mm) or 300 DPI (12 dots per mm). For a 203 DPI printer, a Code 128 barcode needs a minimum bar width of at least 2 dots (roughly 0.25 mm) to scan reliably.
  6. Save the template to your account so you can reuse it for future runs.

Barcode placement tips for thermal labels

Thermal print heads apply heat in a straight line, so tall, narrow barcodes generally scan better than wide, short ones on small labels. Leave a quiet zone (the blank margin around a barcode) of at least 10x the narrowest bar width on each side. For a Code 128 barcode with a 0.33 mm minimum bar, that means at least 3.3 mm of clear space on the left and right. The quiet zone guide covers this in full detail.

Step 3: Import the CSV and run the data merge

  1. In the Label Toolkit designer, open the Data Merge panel (the spreadsheet icon in the right toolbar).
  2. Click Upload CSV and select the file you saved from Excel.
  3. Label Toolkit parses the header row and lists detected columns. Confirm each column maps to the right field placeholder in your template. If a column header matches a placeholder exactly, it maps automatically.
  4. Use the row preview arrows to step through each record and check that names, prices, and barcode values look correct. A misaligned column often shows a field name as literal text or a barcode value that is blank.
  5. Set the print range: all rows, a specific row range (for example rows 1 to 50), or a filtered subset.

Label Toolkit supports up to tens of thousands of rows in a single merge session. The engine processes entirely in the browser, so your data never leaves your machine, which matters when the sheet contains supplier costs or internal SKUs.

Step 4: Choose your output method

How you get labels onto paper depends on your printer type. Label Toolkit offers three paths.

Option A: PDF for inkjet, laser, or sheet stock

Click Export PDF. The engine generates a true vector PDF with one label per page (or multiple labels tiled per page if your stock is sheet-based). Vector paths mean barcodes stay sharp whether you print at 72 DPI on screen preview or 1200 DPI on a laser. See how the vector PDF export works for settings like crop marks and bleed.

Option B: Direct browser print to a thermal printer

If your thermal printer is connected via USB or shared on the local network and appears as a system printer, use Print from the browser. Set the paper size in the print dialog to match your label stock exactly. Disable all margins and headers/footers. Choose the correct printer and media profile.
Option C: ZPL export for Zebra printers

For Zebra printers on a network, export as ZPL. Label Toolkit generates a ZPL II file with one label format per record. The output uses standard ZPL commands: ^XA opens each label, ^FO sets the field origin (X, Y coordinates in dots from the top-left), ^FD carries the field data, ^BC renders a Code 128 barcode, and ^XZ closes the label. A typical label for a 4 x 6 in format at 203 DPI looks like this:

^XA
^FO50,30^A0N,36,36^FDHeavy Duty Gloves^FS
^FO50,80^BCN,80,Y,N,N^FDWH-1042-BLK^FS
^FO50,180^A0N,28,28^FD$14.99^FS
^XZ

In the ZPL above, ^FO50,30 places the origin at 50 dots from the left and 30 dots from the top. ^A0N,36,36 selects the scalable CG Triumvirate font at 36 x 36 dots. ^BCN,80,Y,N,N prints a Code 128 barcode 80 dots tall with the human-readable text below it. The merge replaces the data strings per record automatically. You can send the ZPL file to the printer's IP address over port 9100 using a tool like the Zebra Setup Utilities or a simple TCP socket call.

For a full breakdown of those commands, the ^BC Code 128 ZPL command reference covers every parameter.

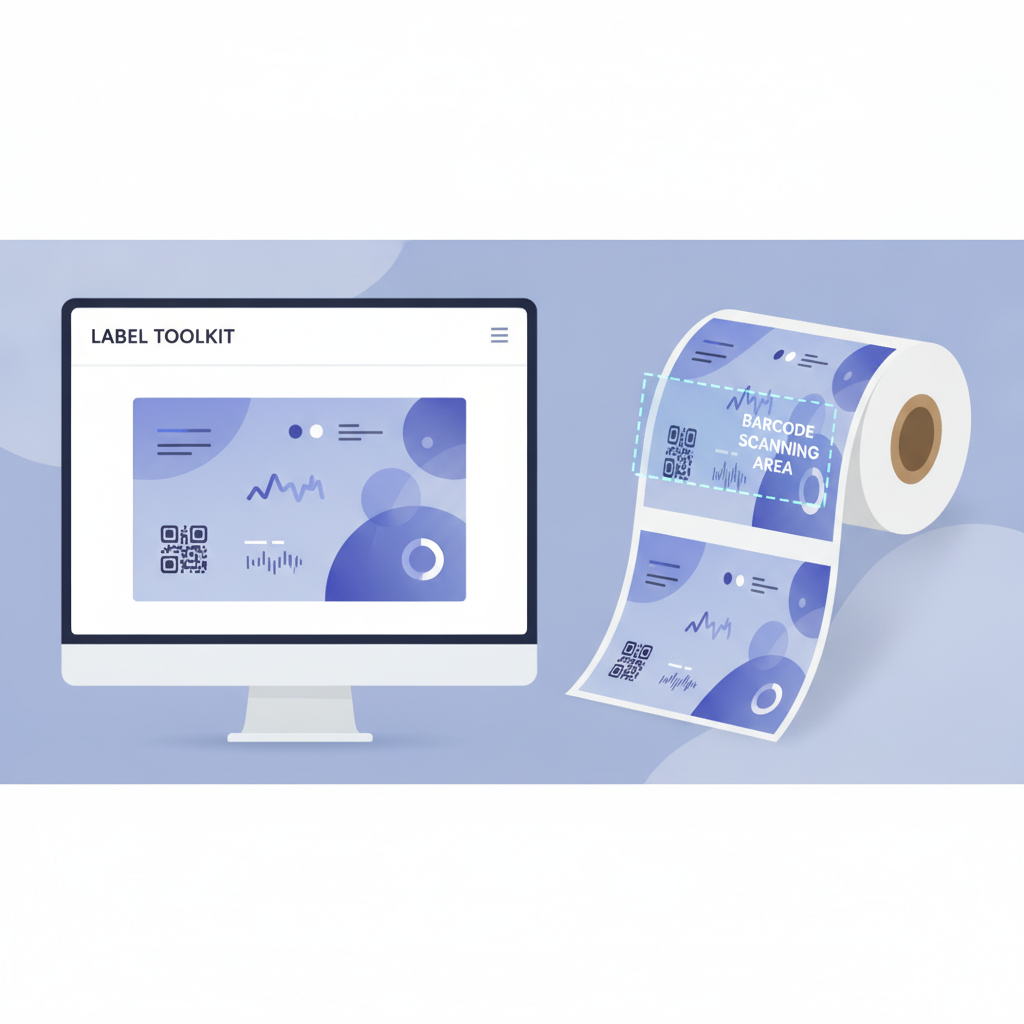
A side-by-side showing a completed label design in Label Toolkit on the left and the same label printed on a thermal roll label on the right, with a barcode scanning area highlighted

Handling serial numbers and sequential fields

If your Excel sheet contains sequential serial numbers such as SN00001 through SN01000, place the column as a barcode data source and a text field simultaneously. One field shows the human-readable number; the other encodes it in the barcode. Label Toolkit also has a built-in auto-increment feature for cases where you want the numbers generated by the tool rather than pre-typed in Excel. The serial numbers and conditional fields guide explains how to set start values, padding (leading zeros), and step sizes.

Common problems and how to fix them

Placeholder text shows instead of data

The column header in the CSV and the placeholder in the template must match exactly, including capitalization. If the CSV header is productname (all lowercase) and the template uses {{ProductName}}, the merge will not resolve the field. Standardize headers to consistent casing before uploading.

Barcodes print but will not scan

The most common causes are a value that is too long for the label width (the bars become narrower than the printer can reproduce at that DPI), insufficient quiet zone, or a barcode type mismatch. Code 128 encodes any ASCII character and works well for SKUs. If the value is purely numeric and long, consider switching to Code 128 subset C, which packs pairs of digits into fewer bars and keeps bar widths printable. The barcode scanning troubleshooting guide walks through each failure mode.

Label content is cut off or shifted

This usually means the canvas size in Label Toolkit does not match the physical label stock loaded in the printer. Remeasure your labels with calipers: include only the printable area, not the gap or backing. Enter those exact dimensions in the Label Size panel, then reposition fields.

Special characters appear as question marks

Save the CSV as UTF-8, not the older Windows ANSI encoding. In Excel, the option is specifically labeled CSV UTF-8 (Comma delimited). If you are on a Mac and using Numbers to export, choose Unicode (UTF-8) in the export dialog.

Excel mail merge vs Label Toolkit: a quick comparison

CapabilityWord mail mergeLabel Toolkit data merge
Thermal printer supportUnreliable, driver dependentNative ZPL and direct print
Custom label sizesLimited to preset paper sizesAny size in mm or inches
Barcode generationRequires third-party fonts or add-insBuilt in (Code 128, QR, EAN, and more)
PDF output qualityRaster; barcodes can blurTrue vector; crisp at any DPI
ZPL exportNot availableOne-click ZPL file per merge run
Software installRequires Microsoft OfficeBrowser only, no install
Data stays localDepends on OneDrive sync settingsProcessed in browser, not uploaded to server

Print density and DPI settings for thermal labels

Thermal printers specify resolution in DPI (dots per inch) or dpmm (dots per millimeter). A 203 DPI printer produces 8 dots per mm; a 300 DPI printer produces roughly 11.8 dots per mm. When you design in Label Toolkit, the canvas operates in real-world units (mm or inches) so you do not need to think in dots manually. When exporting ZPL, the tool calibrates dot coordinates automatically to the selected printer resolution. According to the Zebra ZPL II Programming Guide, the default print density assumed by ZPL commands is 203 DPI unless the printer firmware specifies otherwise; always verify the printer's actual DPI before finalizing field origin coordinates.

For barcodes that must comply with GS1 standards (shipping labels, SSCC, GS1-128), the minimum X-dimension (narrowest bar) is 0.495 mm, which requires at least 4 dots at 203 DPI or 6 dots at 300 DPI. The GS1 General Specifications document section 5 details these tolerances.

Frequently asked questions

Can I print labels from Excel without Word?

Yes. Export your Excel data as a CSV file, upload it to Label Toolkit's data merge panel, design the template once, and print directly to any printer. You do not need Word, Office, or any installed software.

How many rows can I merge at once?

Label Toolkit handles tens of thousands of rows in a single merge session. The processing runs in your browser, so practical limits depend on available RAM rather than a server cap. For very large batches (over 50,000 rows), split the CSV into segments of 10,000 rows to keep preview performance fast.

What barcode type should I use for SKUs from Excel?

Code 128 is the best default for alphanumeric SKUs because it encodes the full ASCII character set and produces compact barcodes. If your SKUs are purely numeric, Code 128 subset C doubles the data density. For retail products that need a GTIN, use EAN-13 or UPC-A instead.

Can I merge images or logos per row from Excel?

Text, numbers, and barcode values merge directly from CSV columns. Per-row image swaps are not currently supported through the CSV merge, but static logos and graphics placed in the template appear on every label in the run.

Does Label Toolkit work with Zebra printers?

Yes. The ZPL export produces a raw ZPL II file you can send to any Zebra printer over a network port (TCP port 9100) or via the Zebra Setup Utilities. The export automatically scales coordinates to 203 DPI or 300 DPI depending on the printer resolution you select in the export settings.

Ready to print your first batch? Create a free Label Toolkit account and run a data merge from your Excel sheet in under five minutes, no install, no credit card.

#print labels from excel #mail merge labels #data merge #bulk labels #thermal label printing #zebra printing #spreadsheet labels
OM
Written by Olivia Morgan
View profile →