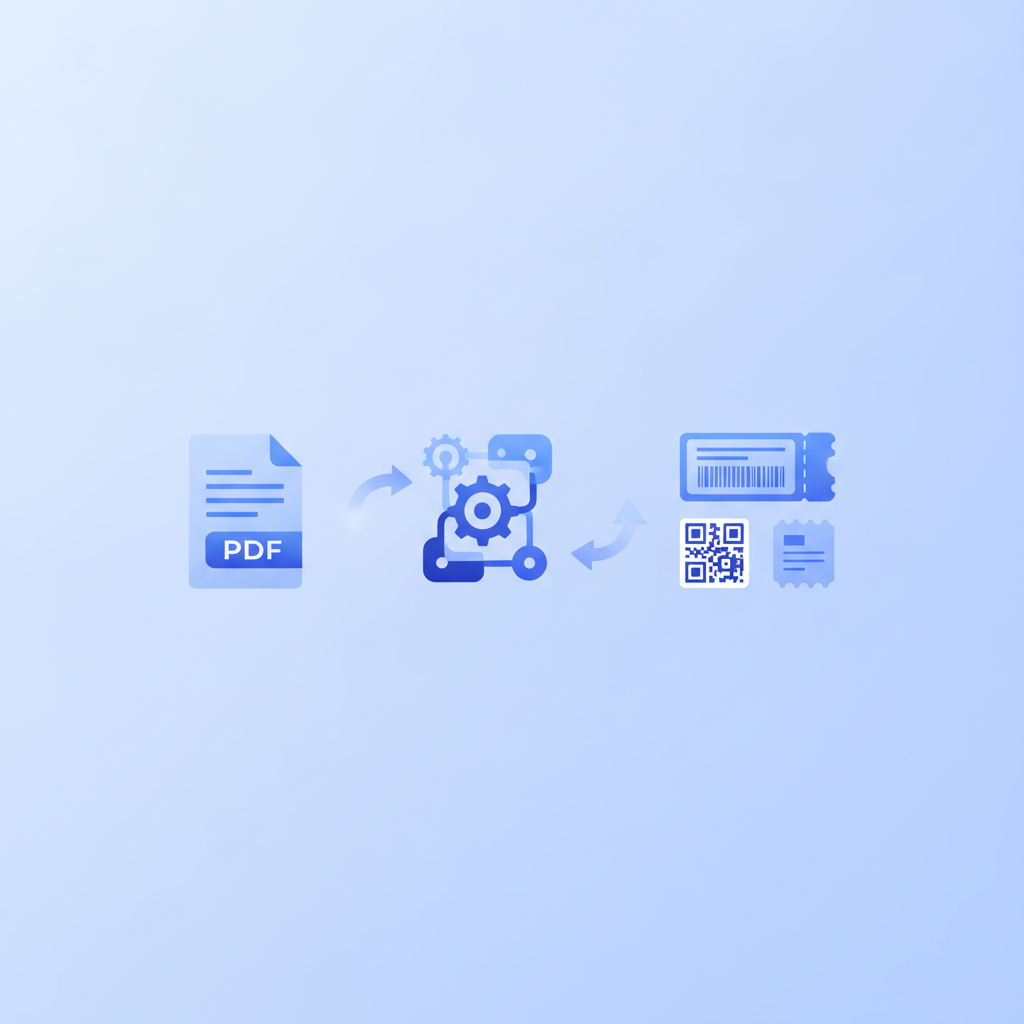
Converting a PDF to ZPL (Zebra Programming Language) means translating a fixed document format into the command-based printer language that Zebra thermal printers understand. Label Toolkit gives you a free, browser-based path: import or redraw your label, then export clean ZPL ready to send to any Zebra printer, no desktop software required.
Two real approaches exist: raster conversion (turn the PDF into a bitmap and embed it with ^GF) or native redraw (rebuild the label as true ZPL commands like ^FO, ^FD, ^BC).
Raster output is quick but fragile: scaled bitmaps blur at mismatched DPI and produce large, slow ZPL files.
Native ZPL is the professional answer: vector-clean text, sharp barcodes, and tiny file sizes that print in milliseconds.
Label Toolkit is free to start and exports native ZPL directly from its browser designer, no conversion step needed.
Why Would You Convert a PDF to ZPL in the First Place?
Most label files that circulate in supply chains are PDFs: Avery templates, GHS compliance sheets, shipping label proofs from logistics partners. Zebra printers, however, do not speak PDF natively. They speak ZPL (or EPL on older models). So when you need to print an existing PDF label on a Zebra ZD420, ZT230, or similar thermal device, you have to cross that language barrier somehow.
Common scenarios include migrating a legacy label library to a new Zebra fleet, printing a carrier-supplied shipping label on an in-house thermal printer, or automating batch label production that was previously printed on inkjet stock.
Understanding the Two Conversion Approaches
Approach 1: Raster Conversion (PDF to Bitmap to ^GF)
Raster conversion renders the PDF as a pixel image, converts that image to a monochrome (1-bit) bitmap, and then encodes it inside a ZPL ^GF (Graphic Field) command. The printer receives the bitmap and reproduces it dot for dot.
The ZPL ^GF command syntax looks like this:
^XA
^FO50,50
^GFA,,,,[hex or Base64 encoded bitmap data]
^XZ
Where the four parameters after ^GFA are: compression type (A for ASCII hex), total bytes, bytes per row, and the actual encoded data. Zebra's ZPL II Programming Guide documents the full ^GF syntax in section 12.
The resolution trap: Zebra printers print at fixed DPI, typically 203 dpi (8 dots per mm) or 300 dpi (12 dots per mm). If you rasterize your PDF at 96 dpi and the printer expects 203 dpi, every element scales up coarsely and barcodes become unreadable. You must rasterize at exactly the printer's native DPI. For a 203 dpi printer, render the PDF at 203 dpi. For 300 dpi, render at 300 dpi. A 4 x 6 inch label at 300 dpi produces a 1200 x 1800 pixel bitmap, which encodes to roughly 270 KB of hex data inside the ZPL file. That is large by ZPL standards and can noticeably slow print throughput on older printer firmware.
Barcode integrity issue: Barcodes inside a rasterized PDF are just pixels. The printer cannot recalculate check digits or adjust bar widths for the print density. If the original PDF barcode was designed for 96 dpi laser printing and you embed it at 203 dpi, bar width ratios shift and scanners often fail. This is why raster conversion is a last resort for barcodes, not a first choice.
Approach 2: Native Redraw in a ZPL-Aware Designer
The better method is to recreate the label using real ZPL commands so that the printer generates every element natively. Text uses ^A (scalable font) or ^CF (default font). Barcodes use dedicated commands like ^BC for Code 128 or ^BQ for QR codes. Positions use ^FO (Field Origin). Each field closes with ^FS and the whole label wraps in ^XA / ^XZ.
A native ZPL label for a shipping barcode might look like this:
^XA
^FO40,30^ADN,18,10^FDShip To: Warehouse A^FS
^FO40,70^BCN,80,Y,N,N^FD123456789012^FS
^FO40,170^ADN,14,8^FD1234 Industrial Blvd, Unit 5^FS
^XZ
That entire label is under 200 bytes. The printer renders it in under 50 ms on a ZD420. The barcode check digit is computed by the printer firmware, bar widths are perfect for the installed print head density, and scaling to a different DPI printer requires only adjusting the ^FO coordinates, not re-encoding a bitmap.
For a deeper look at the individual commands used here, see the ZPL commands and Zebra printing hub, which covers every major command with live examples.
Free Online Tools for PDF to ZPL Conversion
Option A: Rebuild in Label Toolkit (Recommended)
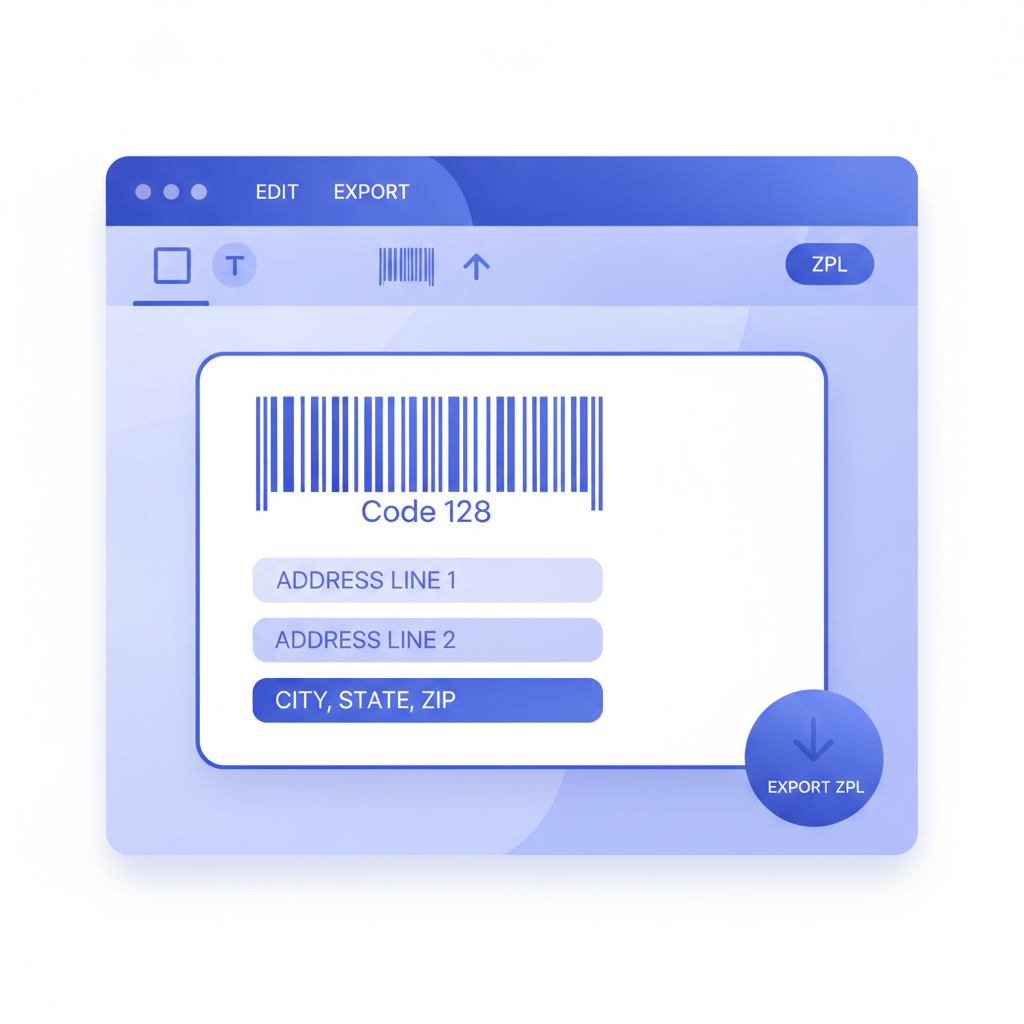
Label Toolkit runs entirely in the browser. Open your PDF alongside the Label Toolkit designer, set your label dimensions to match (for example 4.00 x 6.00 in, or 101.6 x 152.4 mm), and recreate the fields visually. When you export, Label Toolkit generates native ZPL, not a bitmap dump. Barcodes are real ^BC or ^BQ commands. Text is real ^FD field data. The file is tiny and prints sharply on any supported Zebra printer.
This approach also gives you data merge: if your PDF was a single static label, you can attach a CSV and generate hundreds of unique ZPL labels in one pass. The complete ZPL II guide explains how printer-side field substitution works if you want to push variable data via ^DF stored formats.
Option B: Command-Line Raster Conversion with Ghostscript and zpl-image
For developers who need an automated pipeline without manual redraw, a common open-source stack is Ghostscript plus a ZPL image encoder. The general workflow:
Install Ghostscript (available at ghostscript.com) and a Python or Node ZPL encoder library.
Render the PDF to a high-resolution PNG at the target printer DPI: gs -dNOPAUSE -sDEVICE=pnggray -r203 -sOutputFile=label.png input.pdf
Threshold the grayscale PNG to 1-bit monochrome (pure black and white, no grays), since ZPL graphics are 1-bit.
Encode the bitmap as ^GF hex data and wrap it in ^XA / ^XZ.
Send the resulting .zpl file to the printer via raw TCP/IP on port 9100, or via USB using a print queue set to raw mode.
The -r203 flag sets the render resolution to 203 dpi. Use -r300 for a 300 dpi print head. The pnggray device outputs grayscale, which you then threshold at around 128 to produce the monochrome bitmap ZPL expects. Some libraries like zpl-image on npm handle the threshold and encoding in one step.
Option C: Dedicated PDF-to-ZPL Conversion APIs
Several paid APIs accept a PDF and return ZPL via REST. These are useful for high-volume automation but all produce raster output (^GF embeds), so the barcode quality caveats above still apply. If your PDF contains only graphics and no machine-readable barcodes, a raster API is a reasonable choice. If it contains barcodes that need to be rescanned, rebuild natively.
Side-by-Side Method Comparison
Method
Output type
Barcode quality
File size
Setup effort
Cost
Label Toolkit (redraw)
Native ZPL commands
Perfect (printer-rendered)
Very small (100-500 bytes typical)
Low (browser, no install)
Free to start
Ghostscript + encoder
^GF raster
Risk if DPI mismatched
Large (100 KB to 300 KB)
Medium (CLI setup)
Free (open source)
Dedicated conversion API
^GF raster
Risk if DPI mismatched
Large
Low (API call)
Paid per call
Manual ZPL coding
Native ZPL commands
Perfect
Very small
High (requires ZPL knowledge)
Free
Step-by-Step: Redrawing a PDF Label in Label Toolkit and Exporting ZPL
Open your PDF in any viewer at 100% zoom and note the physical dimensions (for example 4 x 6 in) and the content: text blocks, barcodes, logos.
Open Label Toolkit at the browser designer and create a new label with the matching dimensions. Set units to inches or mm to match your physical label stock.
Add text fields using the Text tool. Match font sizes visually. Label Toolkit maps to ^A scalable fonts in the ZPL output.
Add barcodes by selecting the Barcode tool and choosing the correct symbology: Code 128 for shipping, QR for URL payloads, EAN-13 or UPC-A for retail. Enter the data value. The designer previews the barcode at screen resolution; the ZPL export sends a real ^BC or ^BQ command to the printer.
Add any logos or graphics as image elements. These will encode as ^GF in the ZPL, which is fine for logos since they do not need to be machine-readable.
Check positioning by toggling the ruler and grid guides. Label Toolkit uses dot-accurate positioning that maps directly to ^FO x,y coordinates at the target DPI.
Export ZPL from the File menu. Select your target printer resolution (203 dpi or 300 dpi). Label Toolkit generates the complete ZPL file.
Test-print by sending the ZPL file to the printer via raw TCP/IP on port 9100 (for network-connected Zebra printers) or via a USB raw print queue. Scan every barcode with a handheld scanner before approving the label for production.
Key ZPL Commands That Appear in Converted Labels
If you inspect or hand-edit the ZPL that Label Toolkit generates, you will see a consistent structure. Here is a quick reference for the commands most relevant to converted labels:
Command
Purpose
Example
^XA / ^XZ
Label start and end
^XA ... ^XZ
^FO
Field origin (x, y position in dots)
^FO40,60
^FD / ^FS
Field data and field separator (close)
^FDHello^FS
^A
Scalable font selection
^ADN,24,12
^BC
Code 128 barcode
^BCN,80,Y,N,N
^BQ
QR code barcode
^BQN,2,4
^GF
Graphic field (embedded bitmap)
^GFA,270,270,9,[data]
^PW
Print width in dots
^PW812 (4 in at 203 dpi)
^LL
Label length in dots
^LL1218 (6 in at 203 dpi)
Note that 1 inch at 203 dpi equals 203 dots, and 1 inch at 300 dpi equals 300 dots. A 4 x 6 inch label is ^PW812^LL1218 at 203 dpi, and ^PW1200^LL1800 at 300 dpi. Getting these values wrong is the most common cause of labels printing with cut-off edges or unexpected blank areas after conversion. Zebra's official ZPL II Programming Guide, available through Zebra's support portal, documents the full dot-count math for every supported print head density.
Common Problems and How to Fix Them
The label prints at the wrong size
This almost always means ^PW and ^LL are set for the wrong DPI. Confirm your printer's DPI in its configuration report (hold feed on power-up to print a config label) and recalculate dot counts.
Barcodes in the converted ZPL do not scan
If you used raster conversion, the barcode bars may be too thin or thick at the rendered DPI. Switch to native ZPL and let the printer generate the barcode with ^BC. If you used a ^GF embedded barcode and cannot redraw it, try increasing the source PDF render resolution in Ghostscript by changing -r203 to -r406 and then downsampling: some encoders produce cleaner bar edges this way. Also verify the quiet zone (the blank margin around the barcode) is at least 10 bar-width units wide on each side, as specified by the GS1 General Specifications for Code 128 labels. The quiet zone explainer covers this in detail.
The ZPL file is too large to send reliably over the network
A single raster-converted label can exceed 300 KB. Most Zebra printers accept files up to several MB over TCP/IP port 9100, but older firmware versions throttle large jobs. The fix is to use ^GF with ZB64 (Base64 LZ77 compression) instead of ASCII hex. The ZB64 format typically reduces graphic field size by 40 to 60 percent. Alternatively, store the graphic once using ~DY (Download Graphic) and reference it with ^XG on subsequent labels, so the bitmap transfers only once per print session.
When to Use PDF Output Instead of ZPL
ZPL is the right output when you are printing to a Zebra thermal printer directly. But if your goal is printing to a laser printer, a wide-format inkjet, or sharing a proof with a client, PDF is the better format. Label Toolkit exports both: native ZPL for Zebra printing and a true vector PDF for all other cases. The vector PDF export guide covers crop marks, bleed settings, and how to ensure barcodes remain crisp at any print size in PDF mode.
Frequently asked questions
Can I convert a PDF label to ZPL without installing any software?
Yes. Label Toolkit runs entirely in the browser and exports native ZPL with no download or installation. Open the designer, recreate your label using the visual tools, and download the ZPL file directly. The only trade-off versus automated conversion is that you redraw the label rather than processing the PDF automatically, which takes a few minutes but produces far better output quality.
What DPI should I use when rasterizing a PDF for ZPL conversion?
Always match the DPI of your Zebra print head: 203 dpi for standard-resolution printers (ZD420, GK420, etc.) or 300 dpi for high-resolution models. Rendering at any other resolution forces the printer to interpolate, which destroys barcode bar widths. Confirm your printer's DPI by printing a configuration label (hold the feed button on power-up).
Is a raster ZPL file (using ^GF) worse than native ZPL commands?
For pure graphics and logos, raster via ^GF is acceptable. For barcodes and text that must be machine-readable or sharp at small sizes, native ZPL commands are significantly better: the printer firmware generates perfect bar widths, computes check digits, and scales correctly to the installed print head density.
How do I send a ZPL file to a Zebra printer after converting it?
For network-connected Zebra printers, send the raw ZPL file over TCP/IP to the printer's IP address on port 9100 using a tool like the netcat command (nc 192.168.1.100 9100 < label.zpl) or a raw print queue configured in Windows or Linux. For USB-connected printers, configure the print queue as a generic/text-only or raw queue so the ZPL passes through without being interpreted as PostScript.
Can Label Toolkit import an existing ZPL file so I can edit it visually and re-export?
Yes. Label Toolkit supports ZPL import: paste or upload your ZPL code and it renders as an editable label in the designer. You can then modify fields, swap barcodes, adjust sizing, and export updated ZPL or PDF. The ZPL import guide walks through the full process.
Ready to convert your first PDF label to clean, print-ready ZPL? Create a free Label Toolkit account and open the browser designer in under a minute, no software to install, no credit card required.