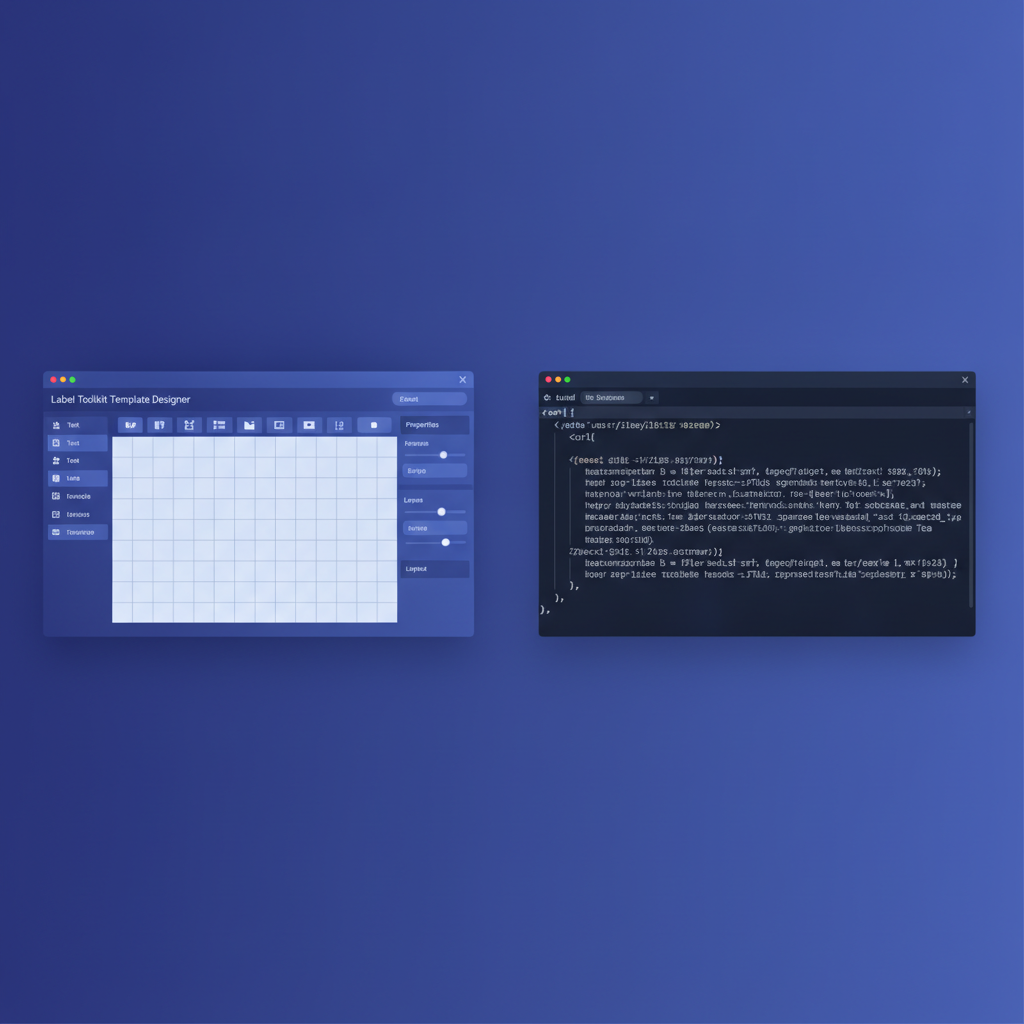
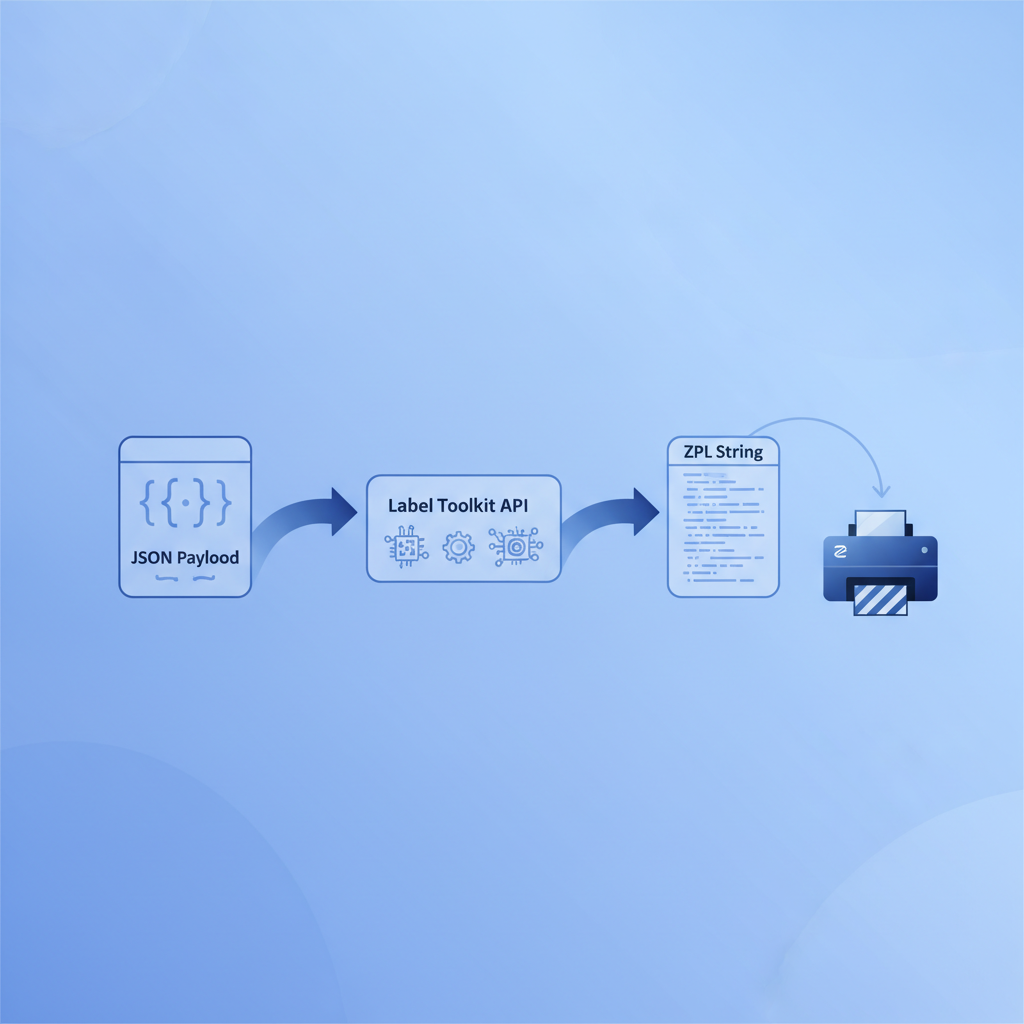
A label API is a REST endpoint that accepts label data and returns print-ready output, such as a ZPL string, without any manual design work. Label Toolkit's free /api/v1/zpl endpoint does exactly that: send a JSON payload describing your label content, get back valid ZPL II code that any Zebra-compatible printer can consume, all from your own application with no browser required.
- Label Toolkit's label API is free to start, requires no installation, and returns ZPL II strings suitable for direct spool to Zebra, Honeywell, and SATO printers.
- A minimal request needs only a label template ID and a data object; barcode generation, font scaling, and quiet-zone padding are handled server-side.
- The API accepts
Content-Type: application/jsonand responds in under 200 ms for single-label requests under normal load. - You can test every response in the browser using the Label Toolkit online ZPL preview designer before wiring up production code.
Who should use a label generation API?
If your team prints more than a few dozen labels a day, or if label data lives inside an order management system, a WMS, or an e-commerce platform, a label API removes the copy-paste step entirely. Engineers at 3PLs, e-commerce brands, and manufacturing operations use Label Toolkit's endpoint to generate shipping labels, warehouse bin labels, product compliance labels, and serialized asset tags on demand, without touching a design tool after the initial template setup.
ZPL II: a quick primer
ZPL II (Zebra Programming Language II) is the page-description language Zebra Technologies introduced for its thermal printers. A ZPL label is a plain-text string that starts with ^XA (start of label) and ends with ^XZ (end of label). Every element, a text field, a barcode, an image, sits between those delimiters and is addressed by dot-row and dot-column coordinates relative to the printhead. Label Toolkit's API compiles your JSON data into this string so you never have to write raw ZPL by hand, though our complete ZPL II guide is there if you want to understand every command the API emits.
Prerequisites
- Create a free Label Toolkit account at /register. Your API key is generated automatically on signup.
- Design or choose a label template in the Label Toolkit designer. Note the template ID shown in the URL or the template settings panel.
- Identify the variable fields in your template. Each field name in the designer maps directly to a key in the API's
dataobject. - Have a Zebra-compatible printer available, or use the Label Toolkit ZPL preview tool to verify output without a physical printer.
API authentication
Every request must include your API key in the Authorization header as a Bearer token:
Authorization: Bearer YOUR_API_KEYKeep your API key out of client-side code. Store it as an environment variable and inject it at runtime. Label Toolkit uses HTTPS-only endpoints, so the token is encrypted in transit.
Endpoint reference
| Property | Value |
|---|---|
| Method | POST |
| URL | https://labeltoolkit.com/api/v1/zpl |
| Content-Type | application/json |
| Accept | application/json |
| Response body key | zpl (string) |
| Typical latency | Under 200 ms for a single label |
| Rate limit (free tier) | 60 requests per minute |
Request body structure
The JSON body takes three top-level keys:
{
  "templateId": "tpl_abc123",
  "labelSize": {
    "width": 101.6,
    "height": 152.4,
    "unit": "mm"
  },
  "data": {
    "recipientName": "Acme Corp",
    "trackingNumber": "1Z9999999999999999",
    "sku": "SKU-00421"
  }
}
templateId references the label template. labelSize is optional if the template already has fixed dimensions; include it to override at request time. data is a flat key-value map where each key matches a variable field name in the template.
Step-by-step: your first API call
- Copy your API key from the Label Toolkit account dashboard.
- Open a terminal and run the curl command below, substituting your real key and template ID.
- Inspect the
zplfield in the response. It should begin with^XAand end with^XZ. - Paste that ZPL string into the Label Toolkit ZPL preview or send it directly to your printer's TCP/IP socket on port 9100.
- If the output looks correct, wrap the call in your application code using the language examples below.
Code examples
curl
curl -X POST https://labeltoolkit.com/api/v1/zpl \
  -H "Authorization: Bearer YOUR_API_KEY" \
  -H "Content-Type: application/json" \
  -d '{
    "templateId": "tpl_abc123",
    "data": {
      "recipientName": "Acme Corp",
      "trackingNumber": "1Z9999999999999999"
    }
  }'
Node.js (fetch)
const response = await fetch('https://labeltoolkit.com/api/v1/zpl', {
  method: 'POST',
  headers: {
    'Authorization': `Bearer ${process.env.LABEL_TOOLKIT_KEY}`,
    'Content-Type': 'application/json'
  },
  body: JSON.stringify({
    templateId: 'tpl_abc123',
    data: {
      recipientName: 'Acme Corp',
      trackingNumber: '1Z9999999999999999'
    }
  })
});

const { zpl } = await response.json();
console.log(zpl); // ^XA ... ^XZ
Python (requests)
import os
import requests

resp = requests.post(
    'https://labeltoolkit.com/api/v1/zpl',
    headers={
        'Authorization': f'Bearer {os.environ["LABEL_TOOLKIT_KEY"]}',
        'Content-Type': 'application/json'
    },
    json={
        'templateId': 'tpl_abc123',
        'data': {
            'recipientName': 'Acme Corp',
            'trackingNumber': '1Z9999999999999999'
        }
    }
)

zpl = resp.json()['zpl']
print(zpl)  # ^XA ... ^XZ
PHP (Guzzle)
use GuzzleHttp\Client;

$client = new Client();
$response = $client->post('https://labeltoolkit.com/api/v1/zpl', [
    'headers' => [
        'Authorization' => 'Bearer ' . getenv('LABEL_TOOLKIT_KEY'),
        'Content-Type'  => 'application/json'
    ],
    'json' => [
        'templateId' => 'tpl_abc123',
        'data' => [
            'recipientName'   => 'Acme Corp',
            'trackingNumber'  => '1Z9999999999999999'
        ]
    ]
]);

$zpl = json_decode($response->getBody(), true)['zpl'];
echo $zpl; // ^XA ... ^XZ
Understanding the ZPL output
The API returns ZPL II. A typical single-field label with a Code 128 barcode looks like this (abbreviated for readability):
^XA
^FO20,20^A0N,30,30^FDAcme Corp^FS
^FO20,70^BCN,80,Y,N,N^FD1Z9999999999999999^FS
^XZ
Breaking that down: ^FO20,20 sets the field origin at 20 dots from the left edge and 20 dots from the top. At 203 dpi (dots per inch), 20 dots is roughly 2.5 mm. ^A0N,30,30 selects scalable font 0 at 30 x 30 dots. ^FD opens the field data and ^FS closes it. ^BCN,80,Y,N,N renders a Code 128 barcode (the ^BC command) at 80 dots tall with a human-readable interpretation line. If your printer runs at 300 dpi, the same coordinate values produce a proportionally smaller physical element, so you may want to scale coordinates by 1.48 (300 / 203) or use the labelSize override to let the API do it for you.